-
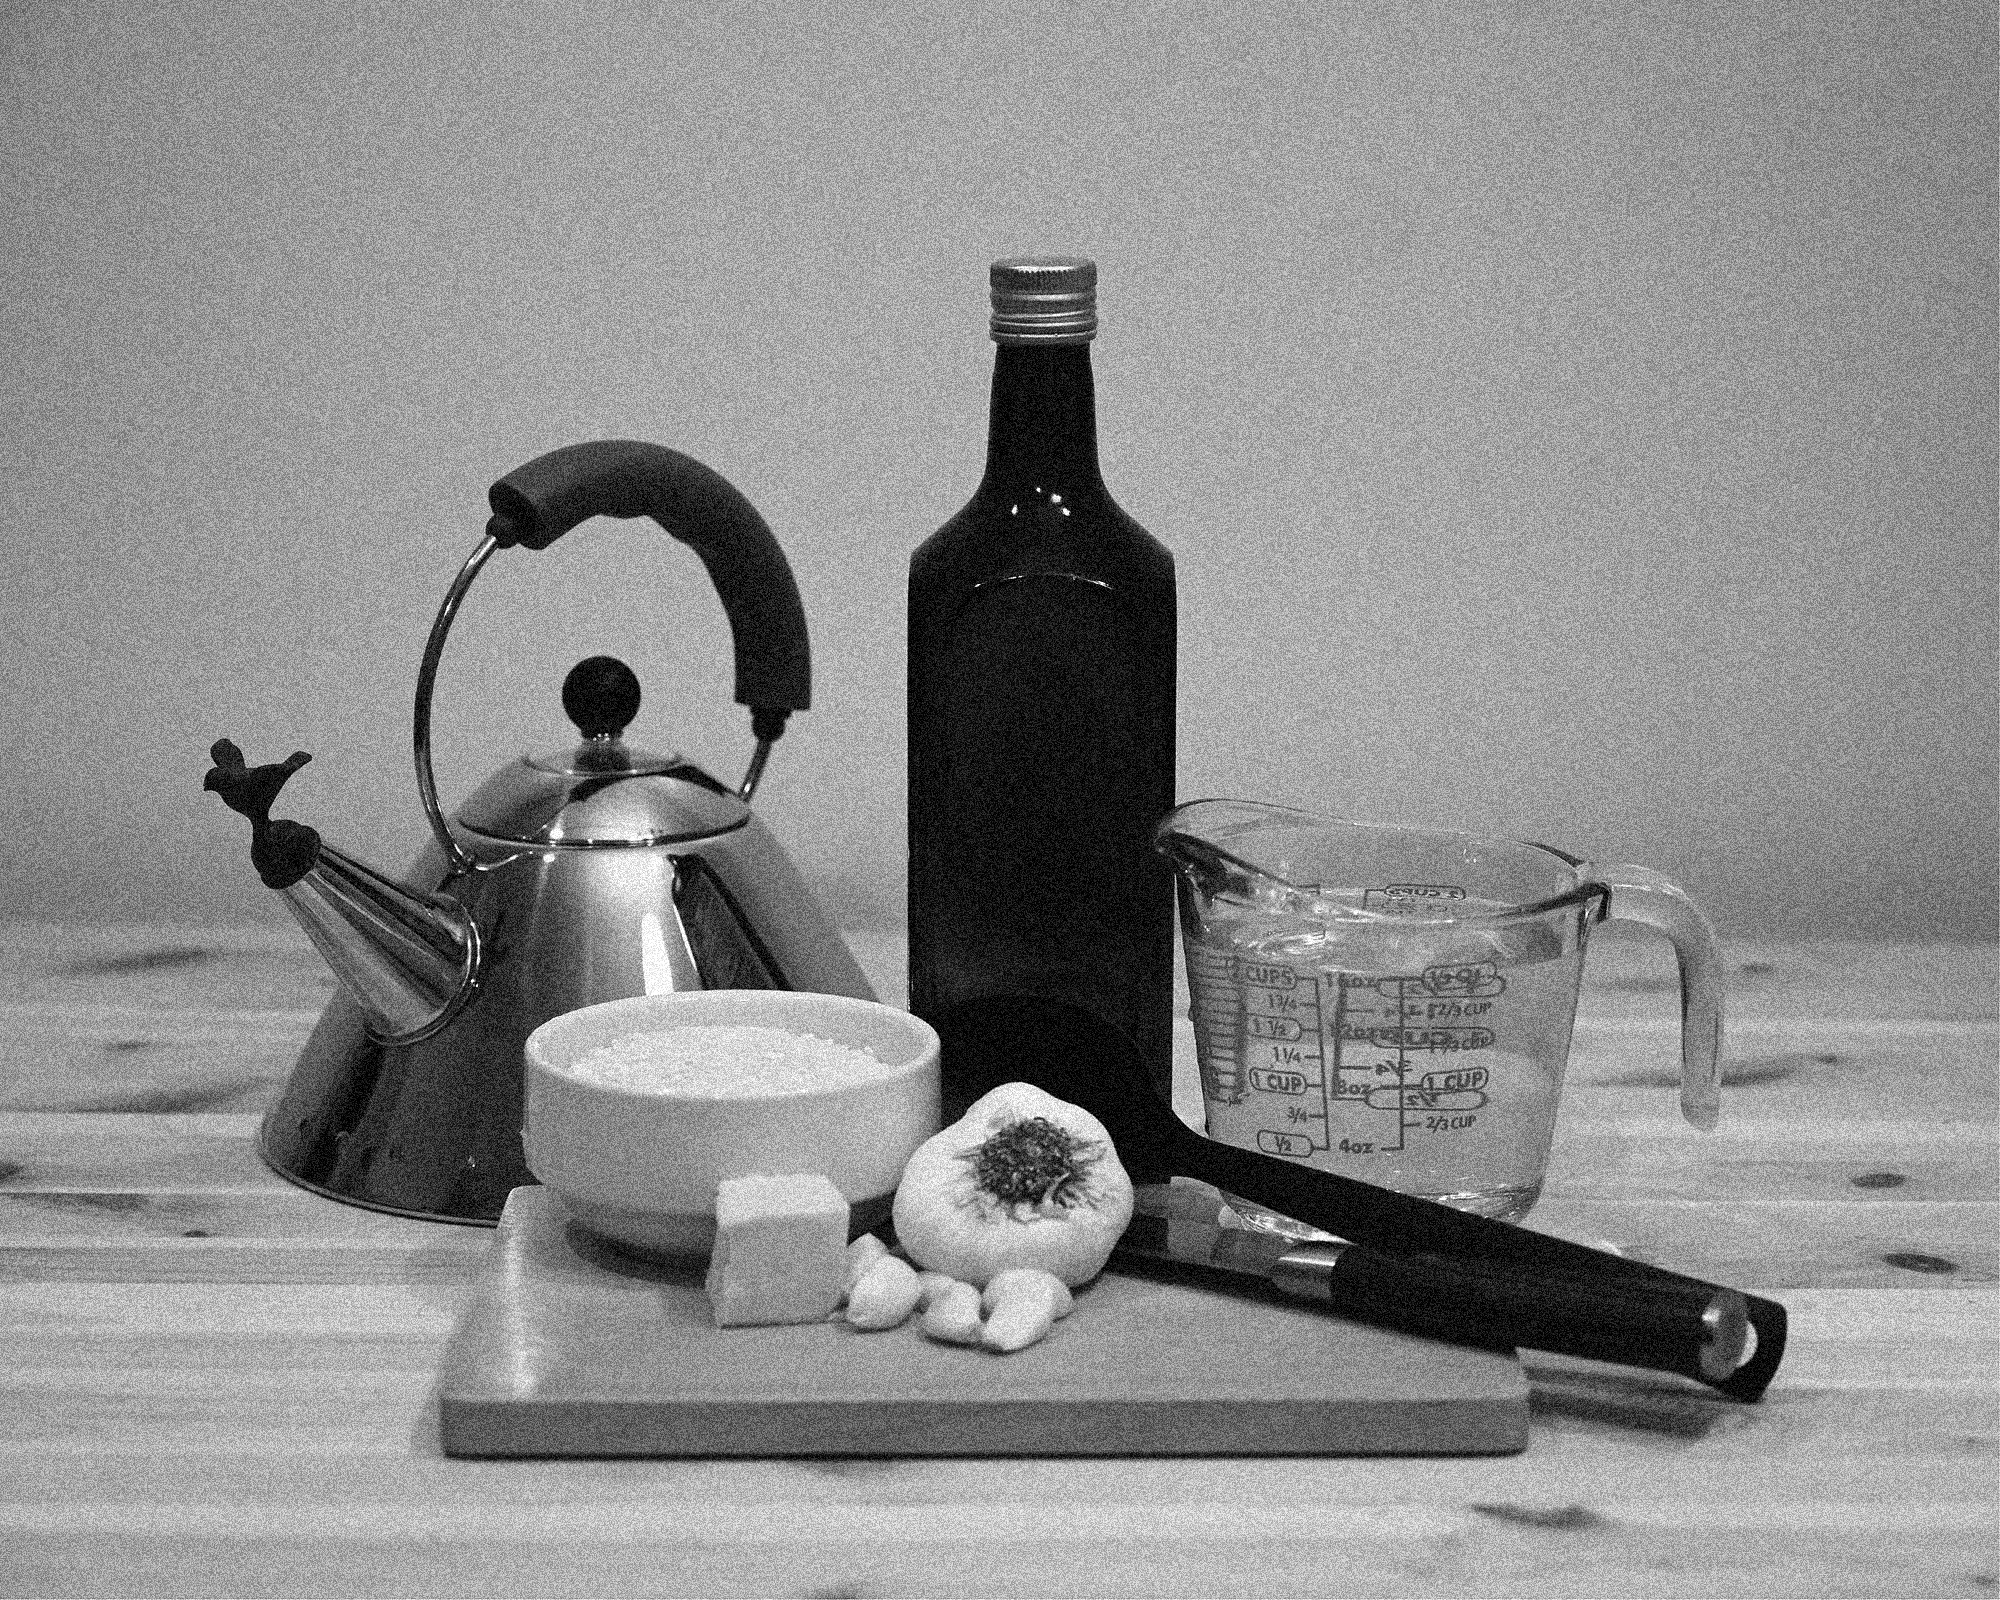
Before you start, gather the following and make a nicely arranged, aesthetic composition on a clean surface:
-
2 cups of parboiled rice
If you're feeling healthy (and you should), add a ½ cup of quinoa to your rice
2 tablespoons of butter, OR enough olive oil to make a thin layer on the bottom of the pan you're using
3 medium-sized garlic
teeth (is that how you call it in English?)cloversA nicely sized saucepan (3–4 quarts is good!) with a perforated lid (if the lid is not perforated, you're gonna have to place it slightly off for the vapor to go out)
Around 1 liter water
A chopping board
A sharp knife
A heat-safe silicon or wooden cooking spoon
-
-
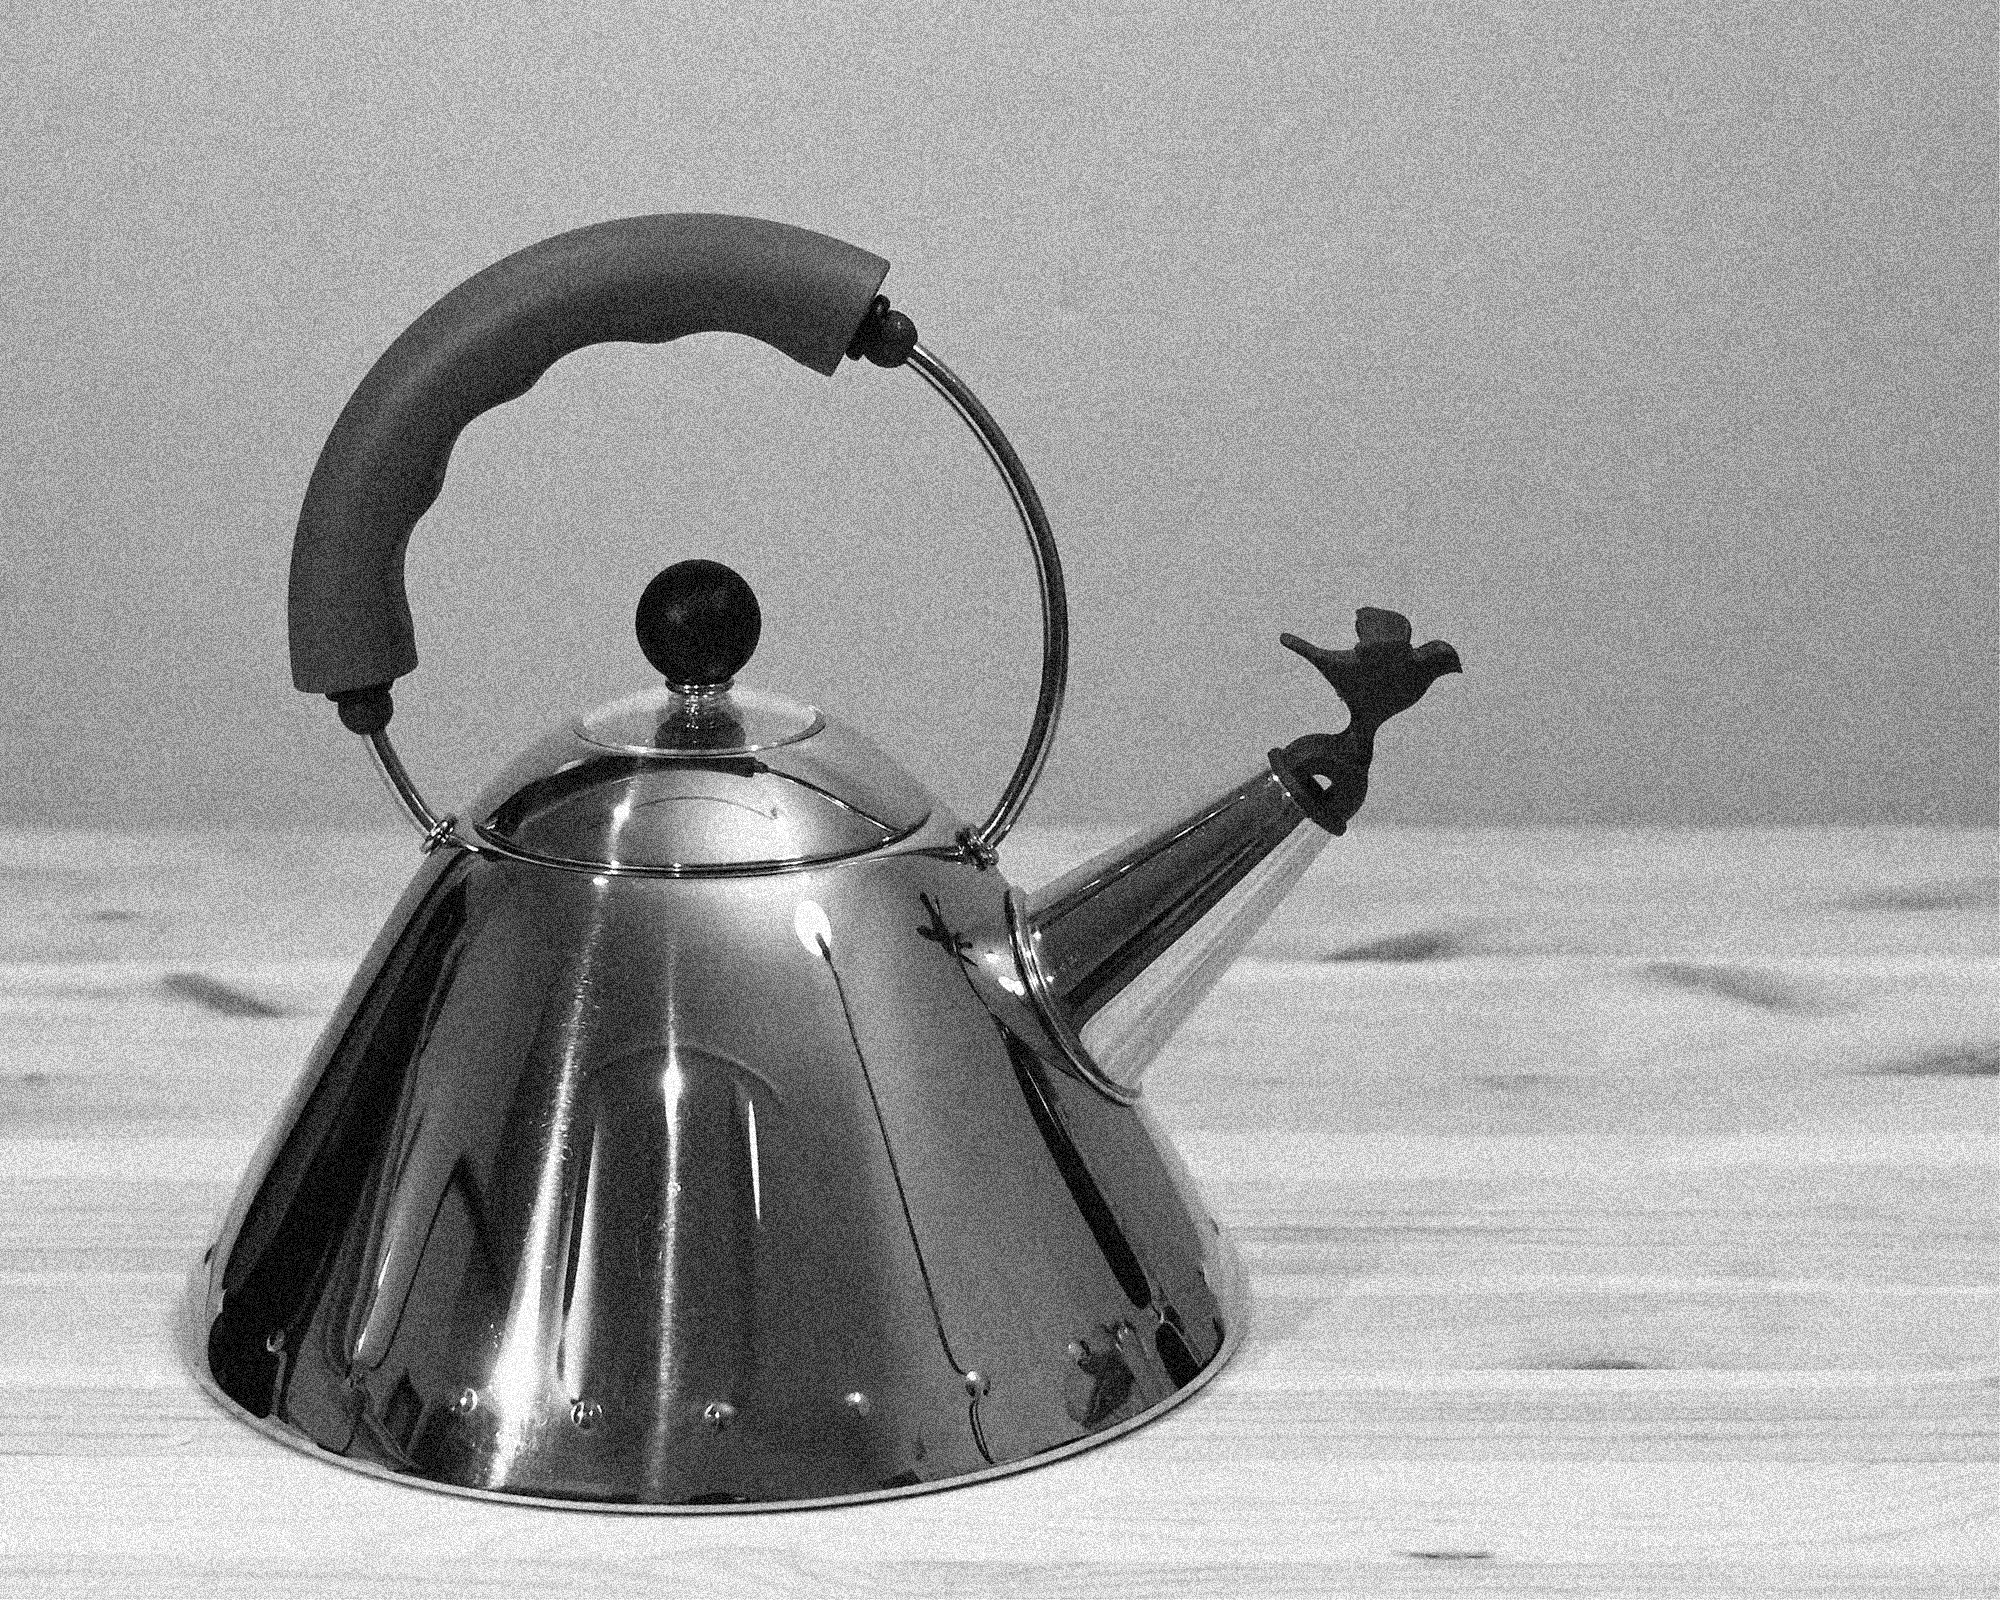
Get your water on a kettle and leave it heating while you do the rest.
-
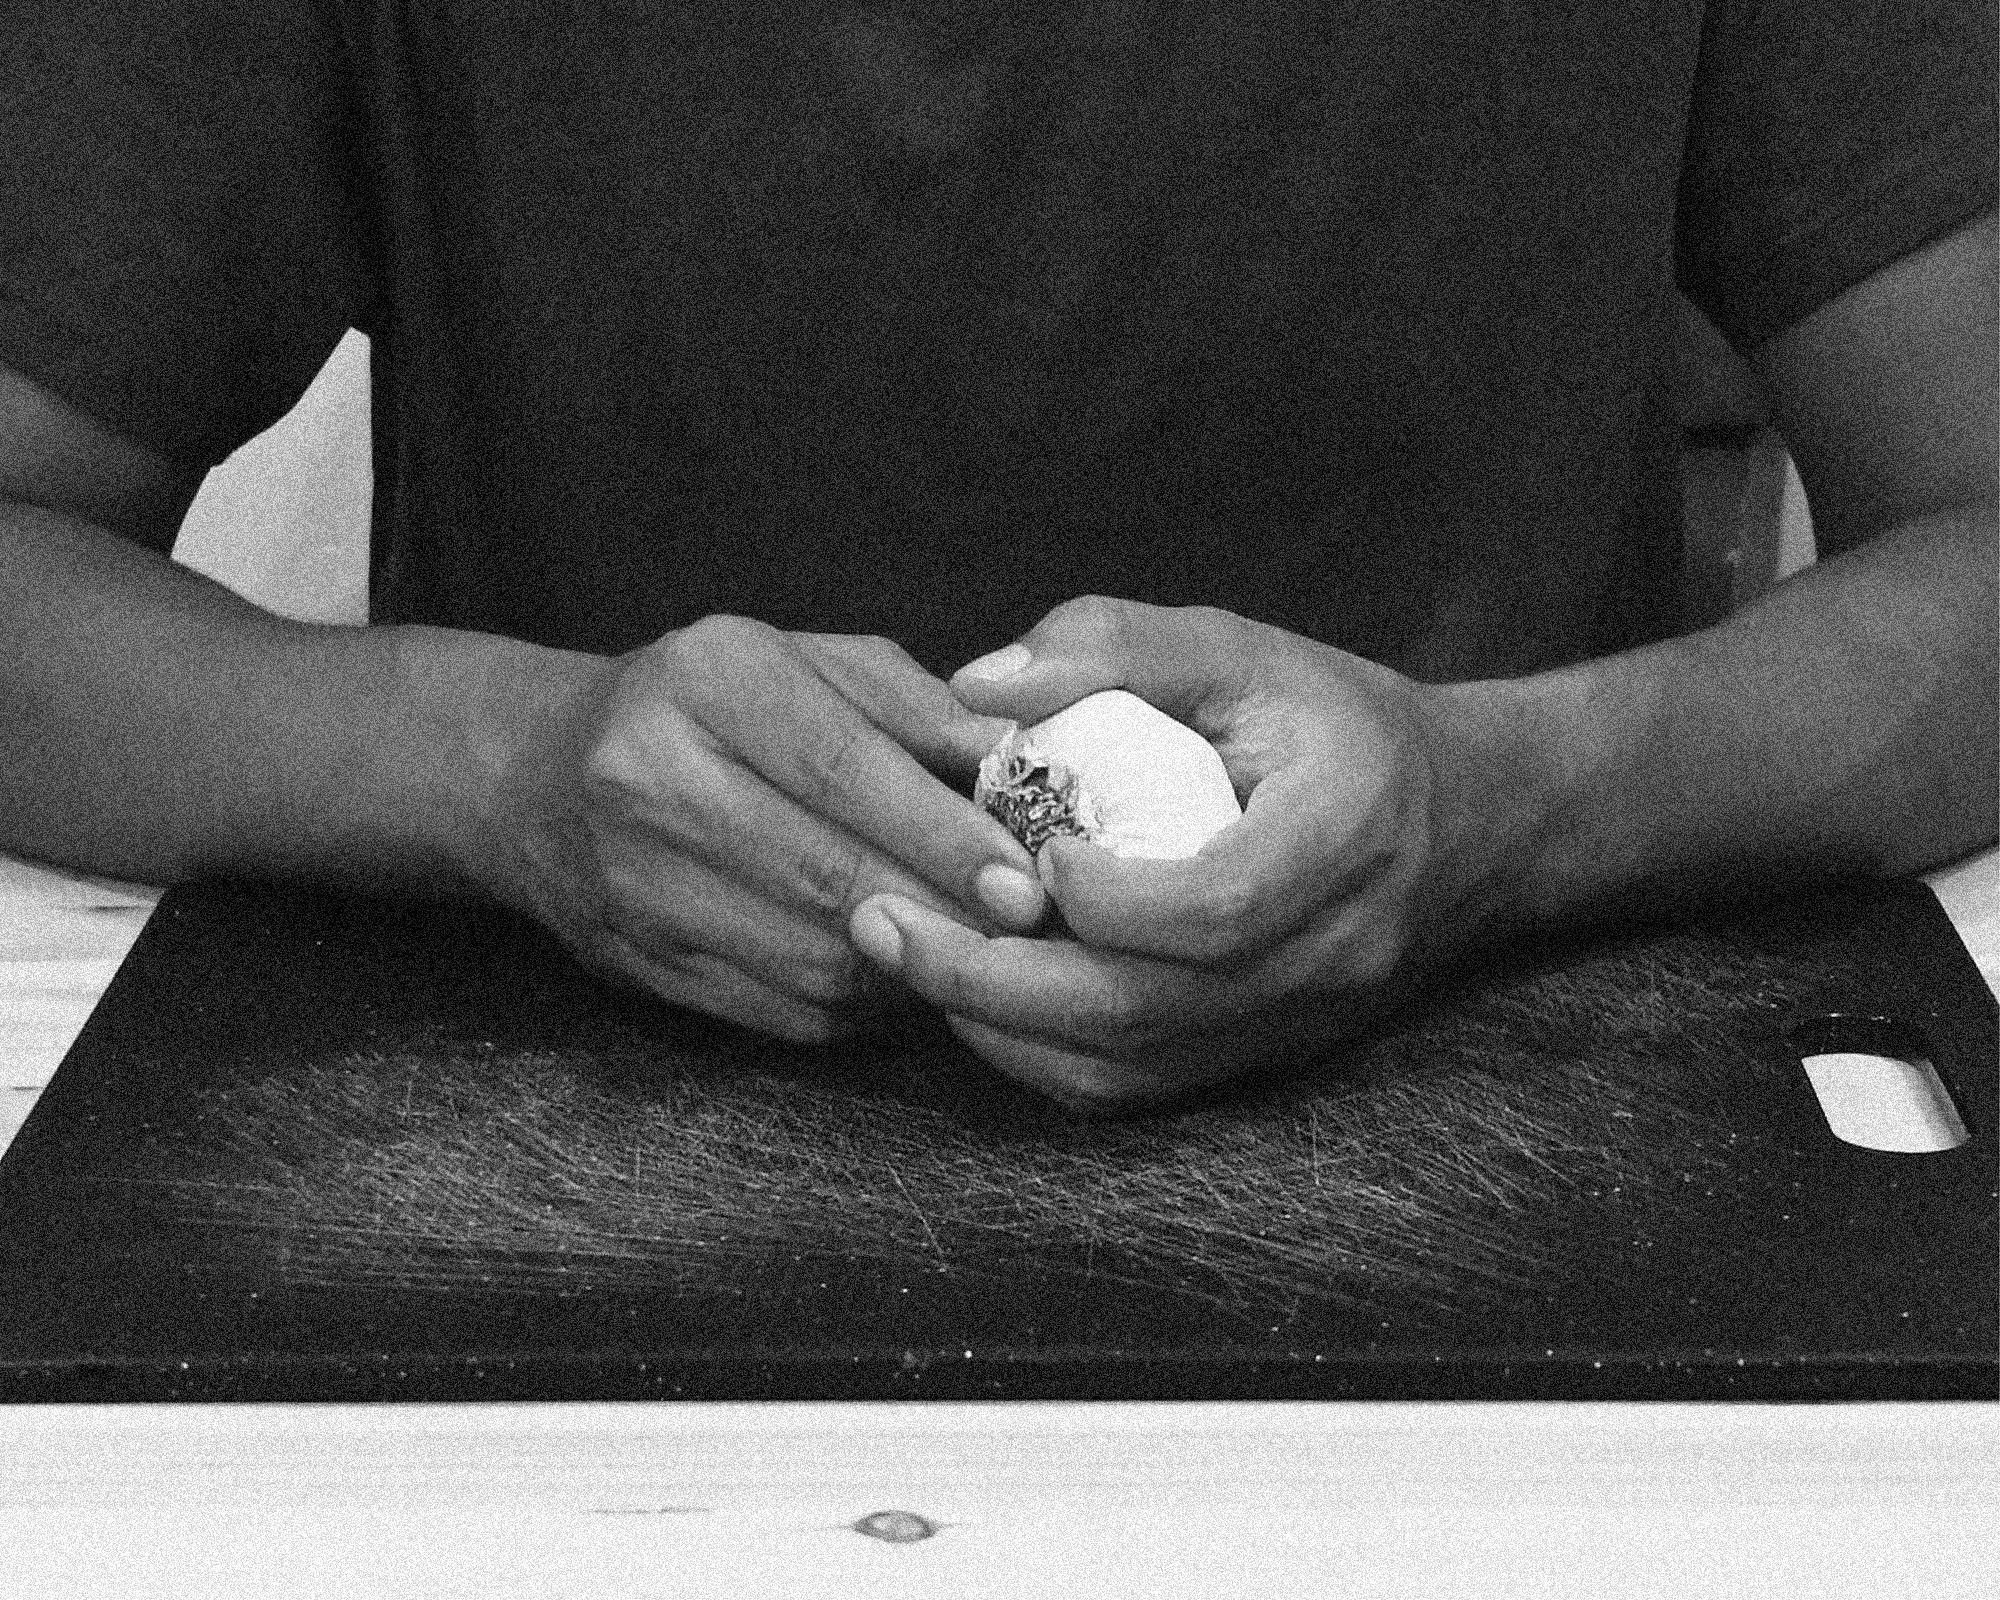
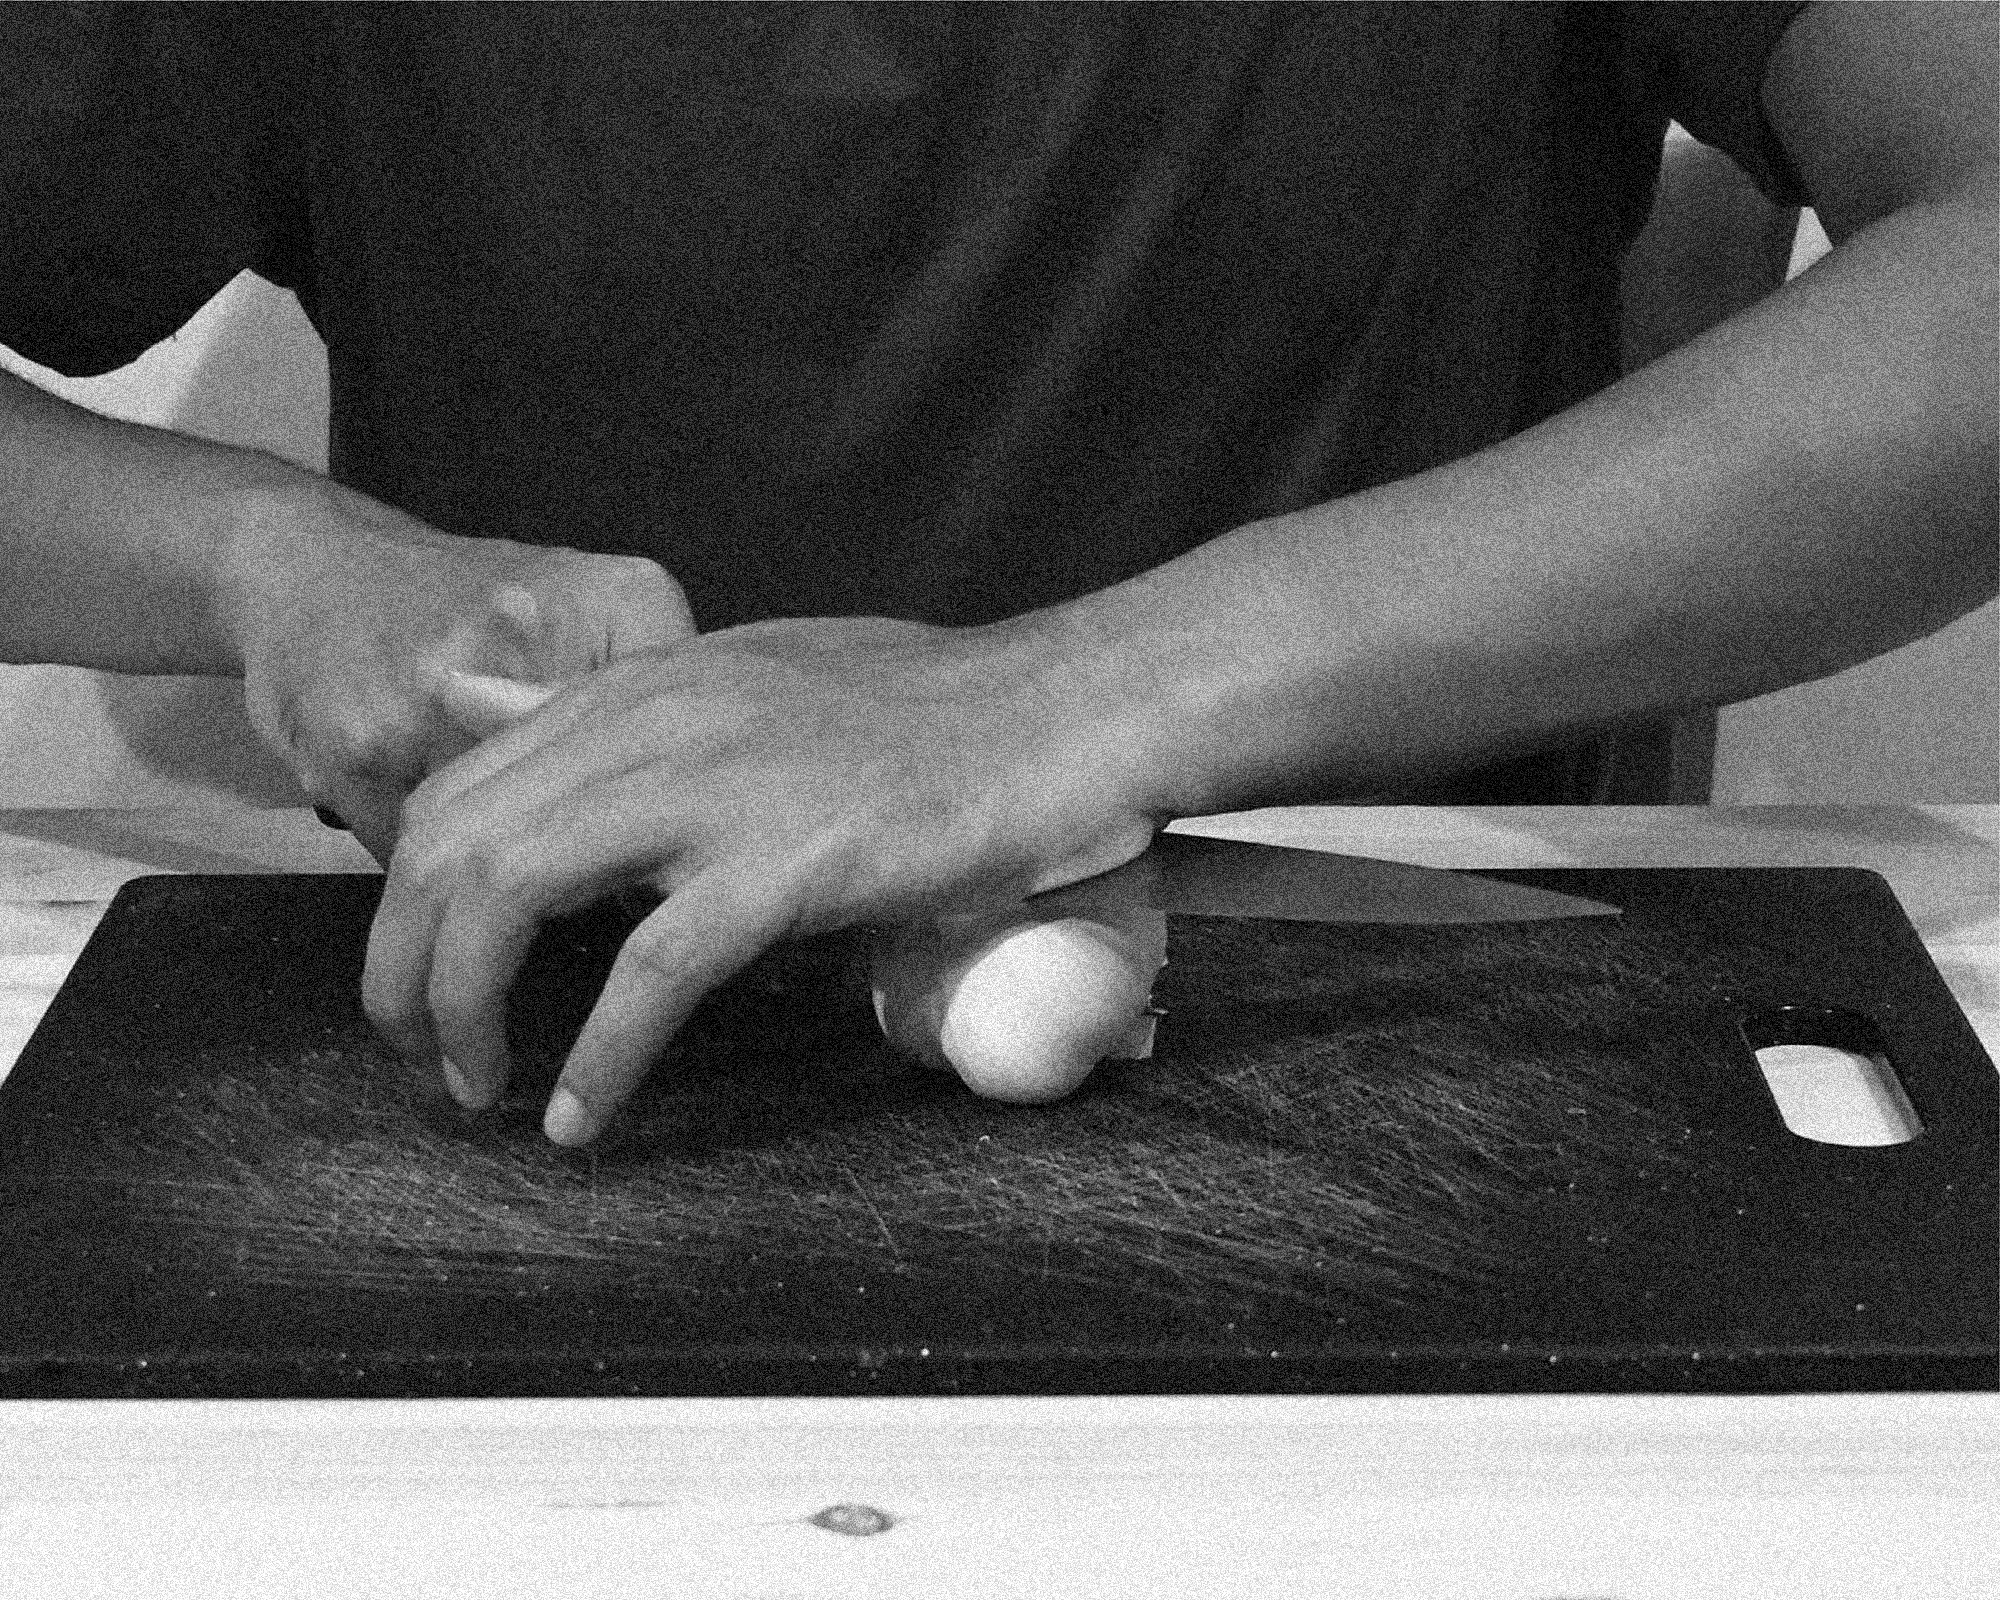
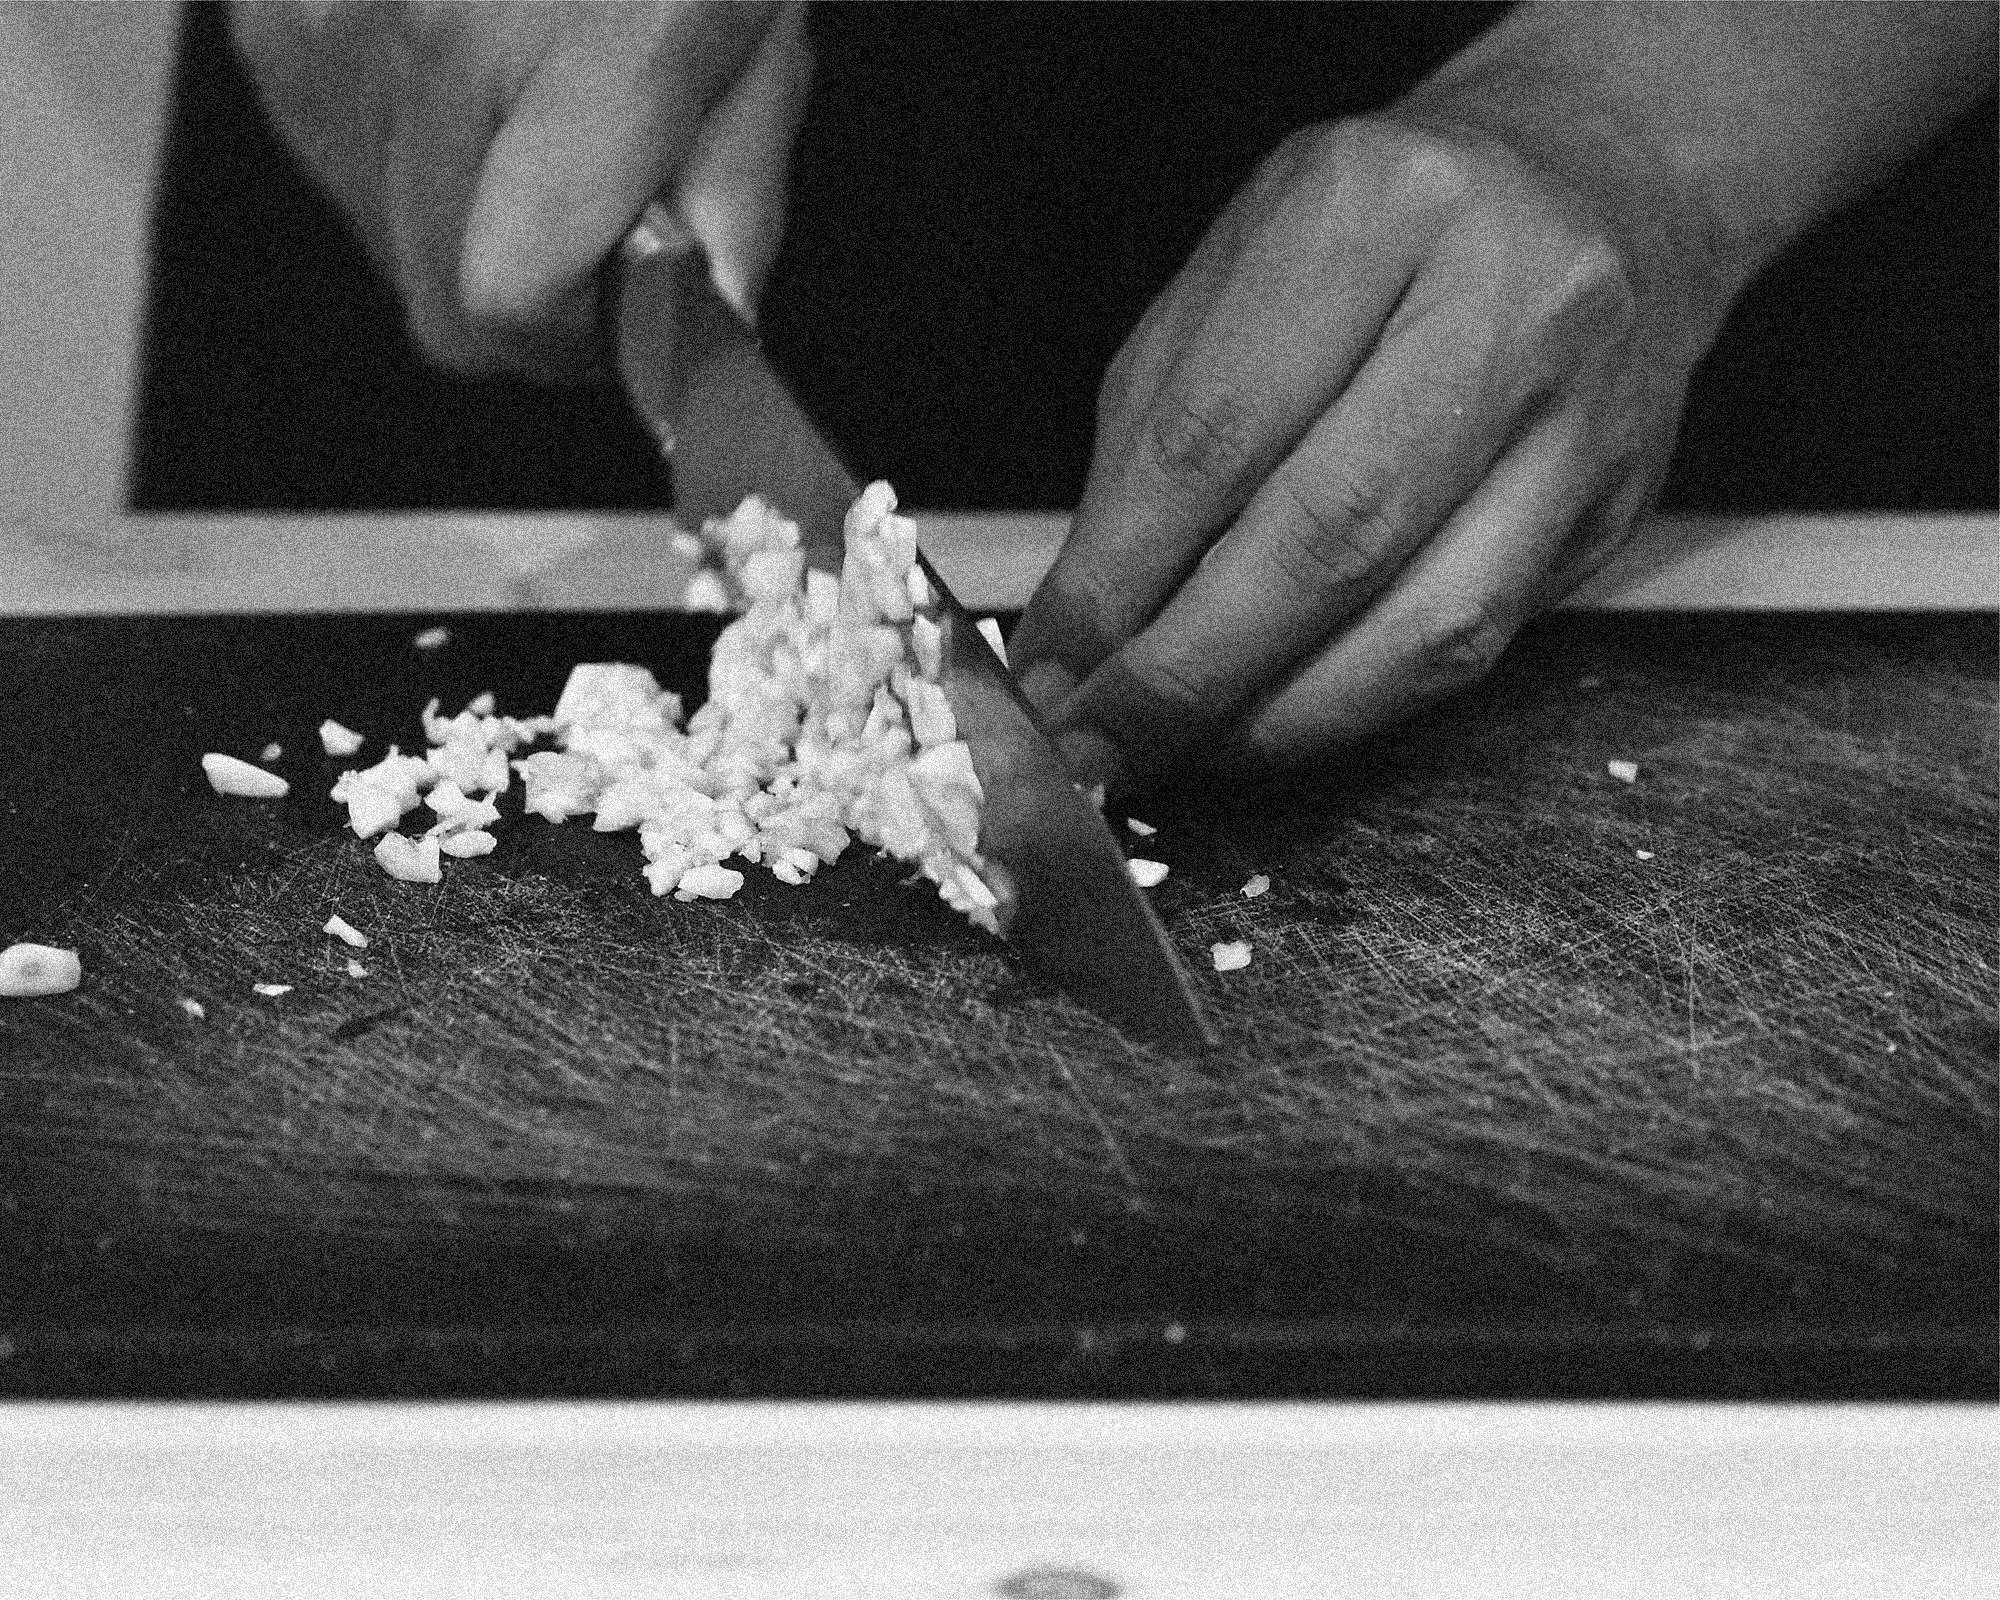
Peel the garlic like a professional would. That means you will use the side of your knife to press it against the chopping board and the peel will come off beautifully.
-
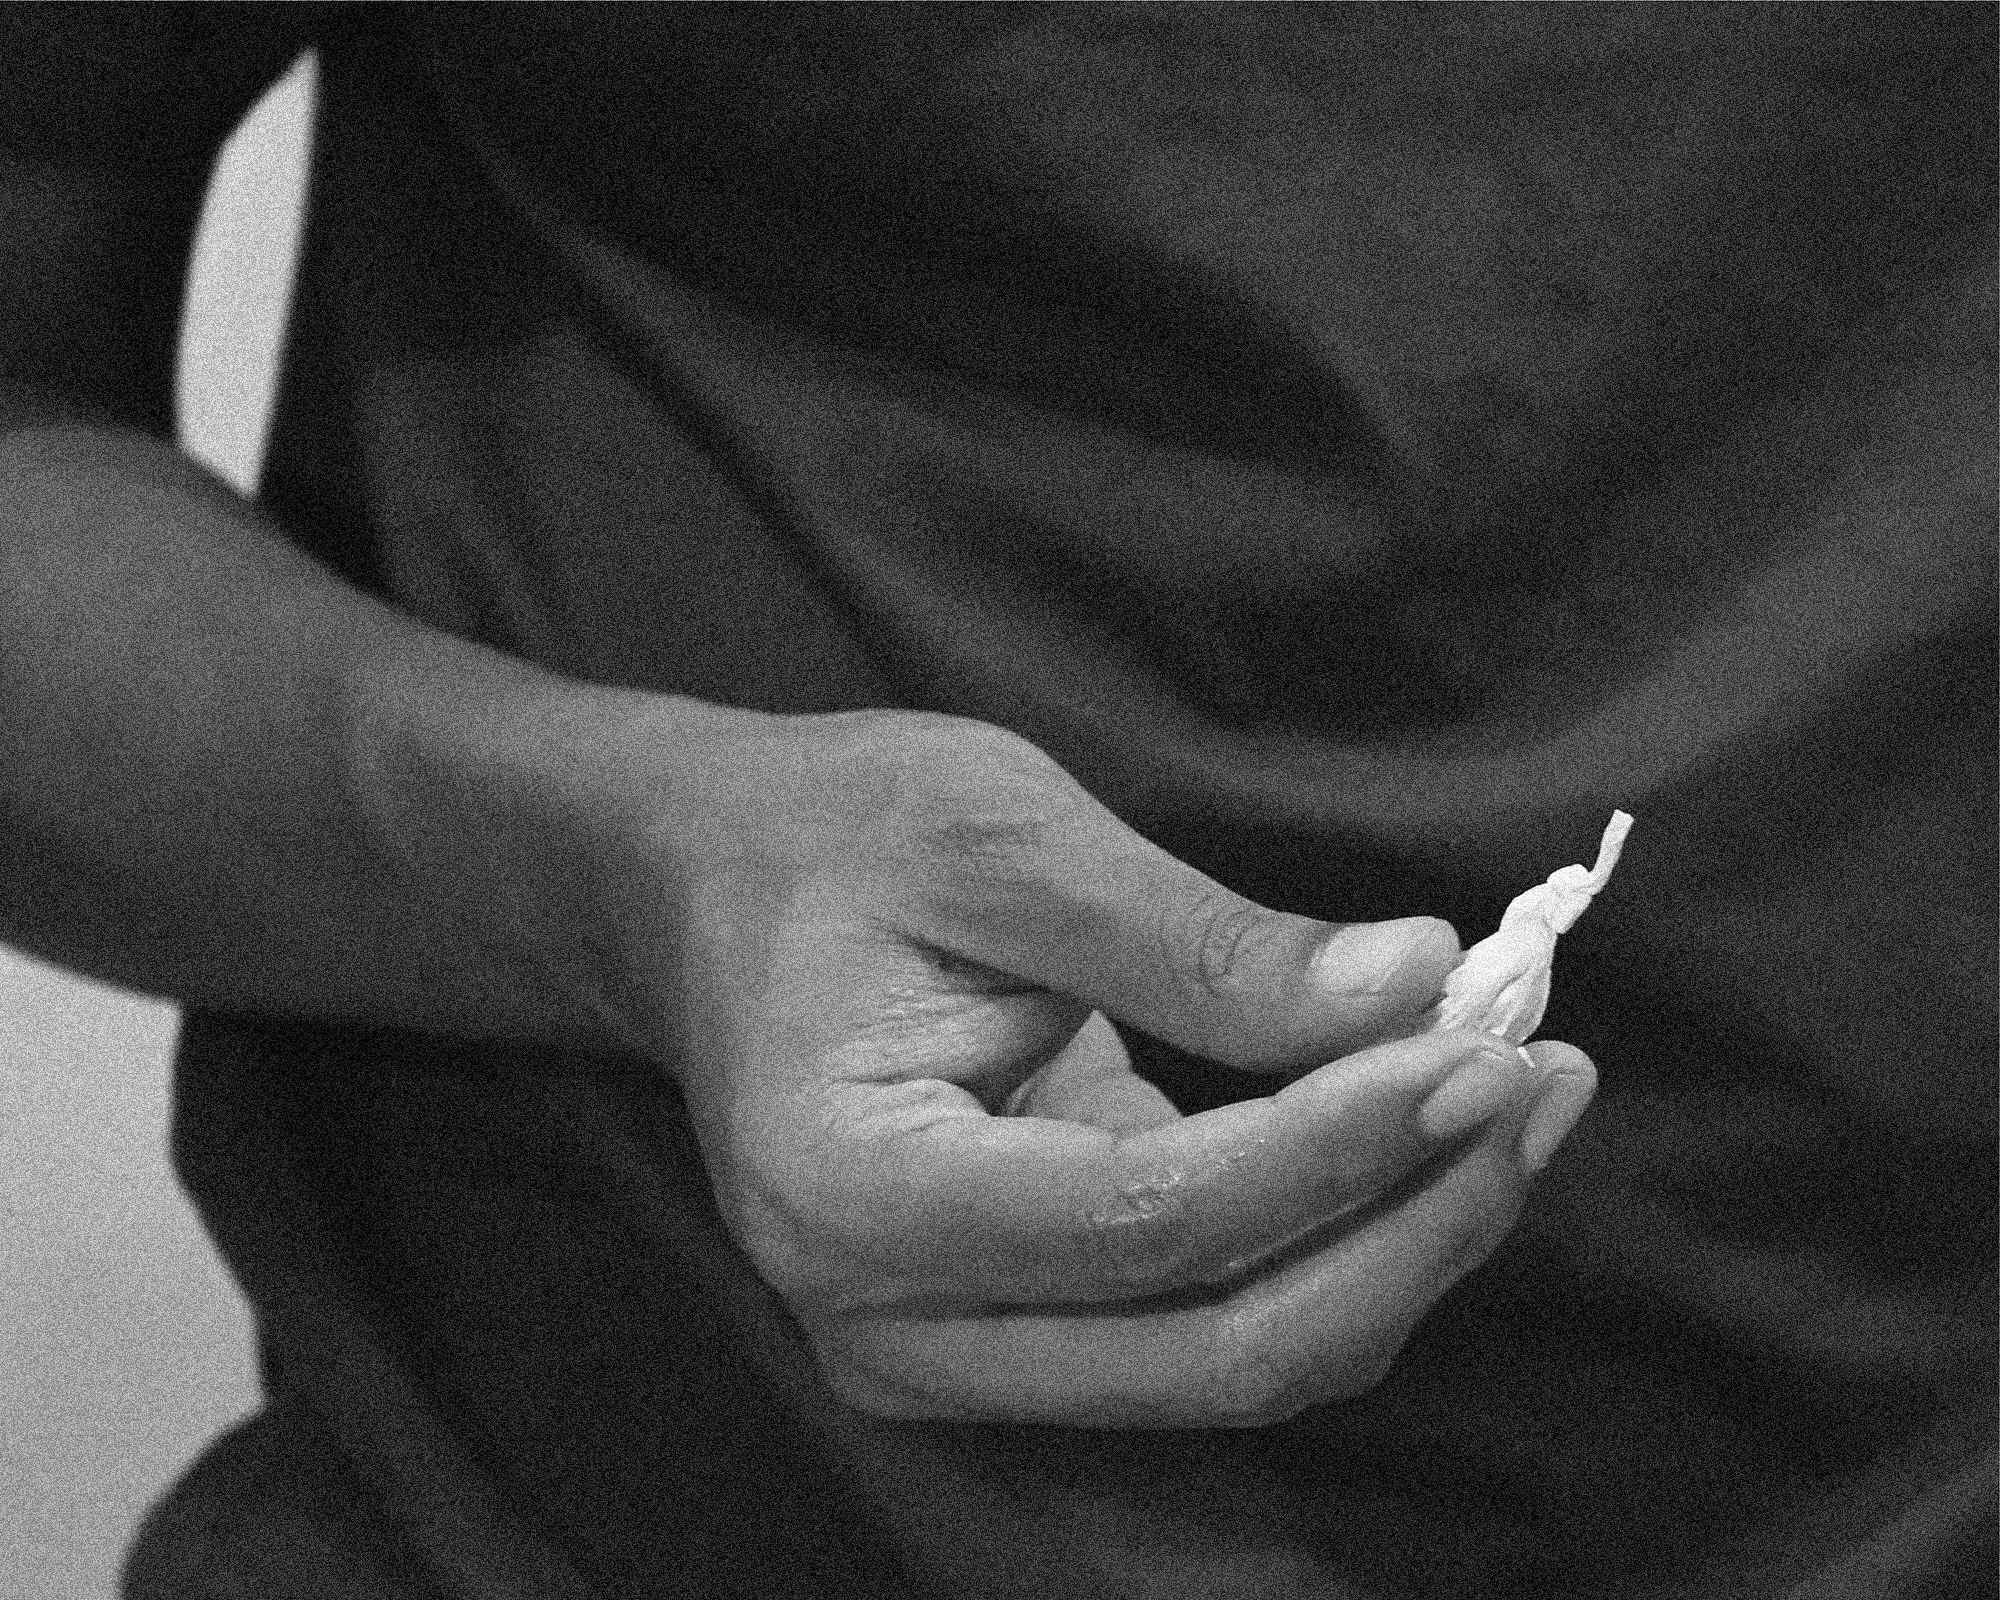
After you've peeled it, throw the peel away.
-
That's because you want to keep your cooking area always clean.

-
Look at how beautiful it is.
-
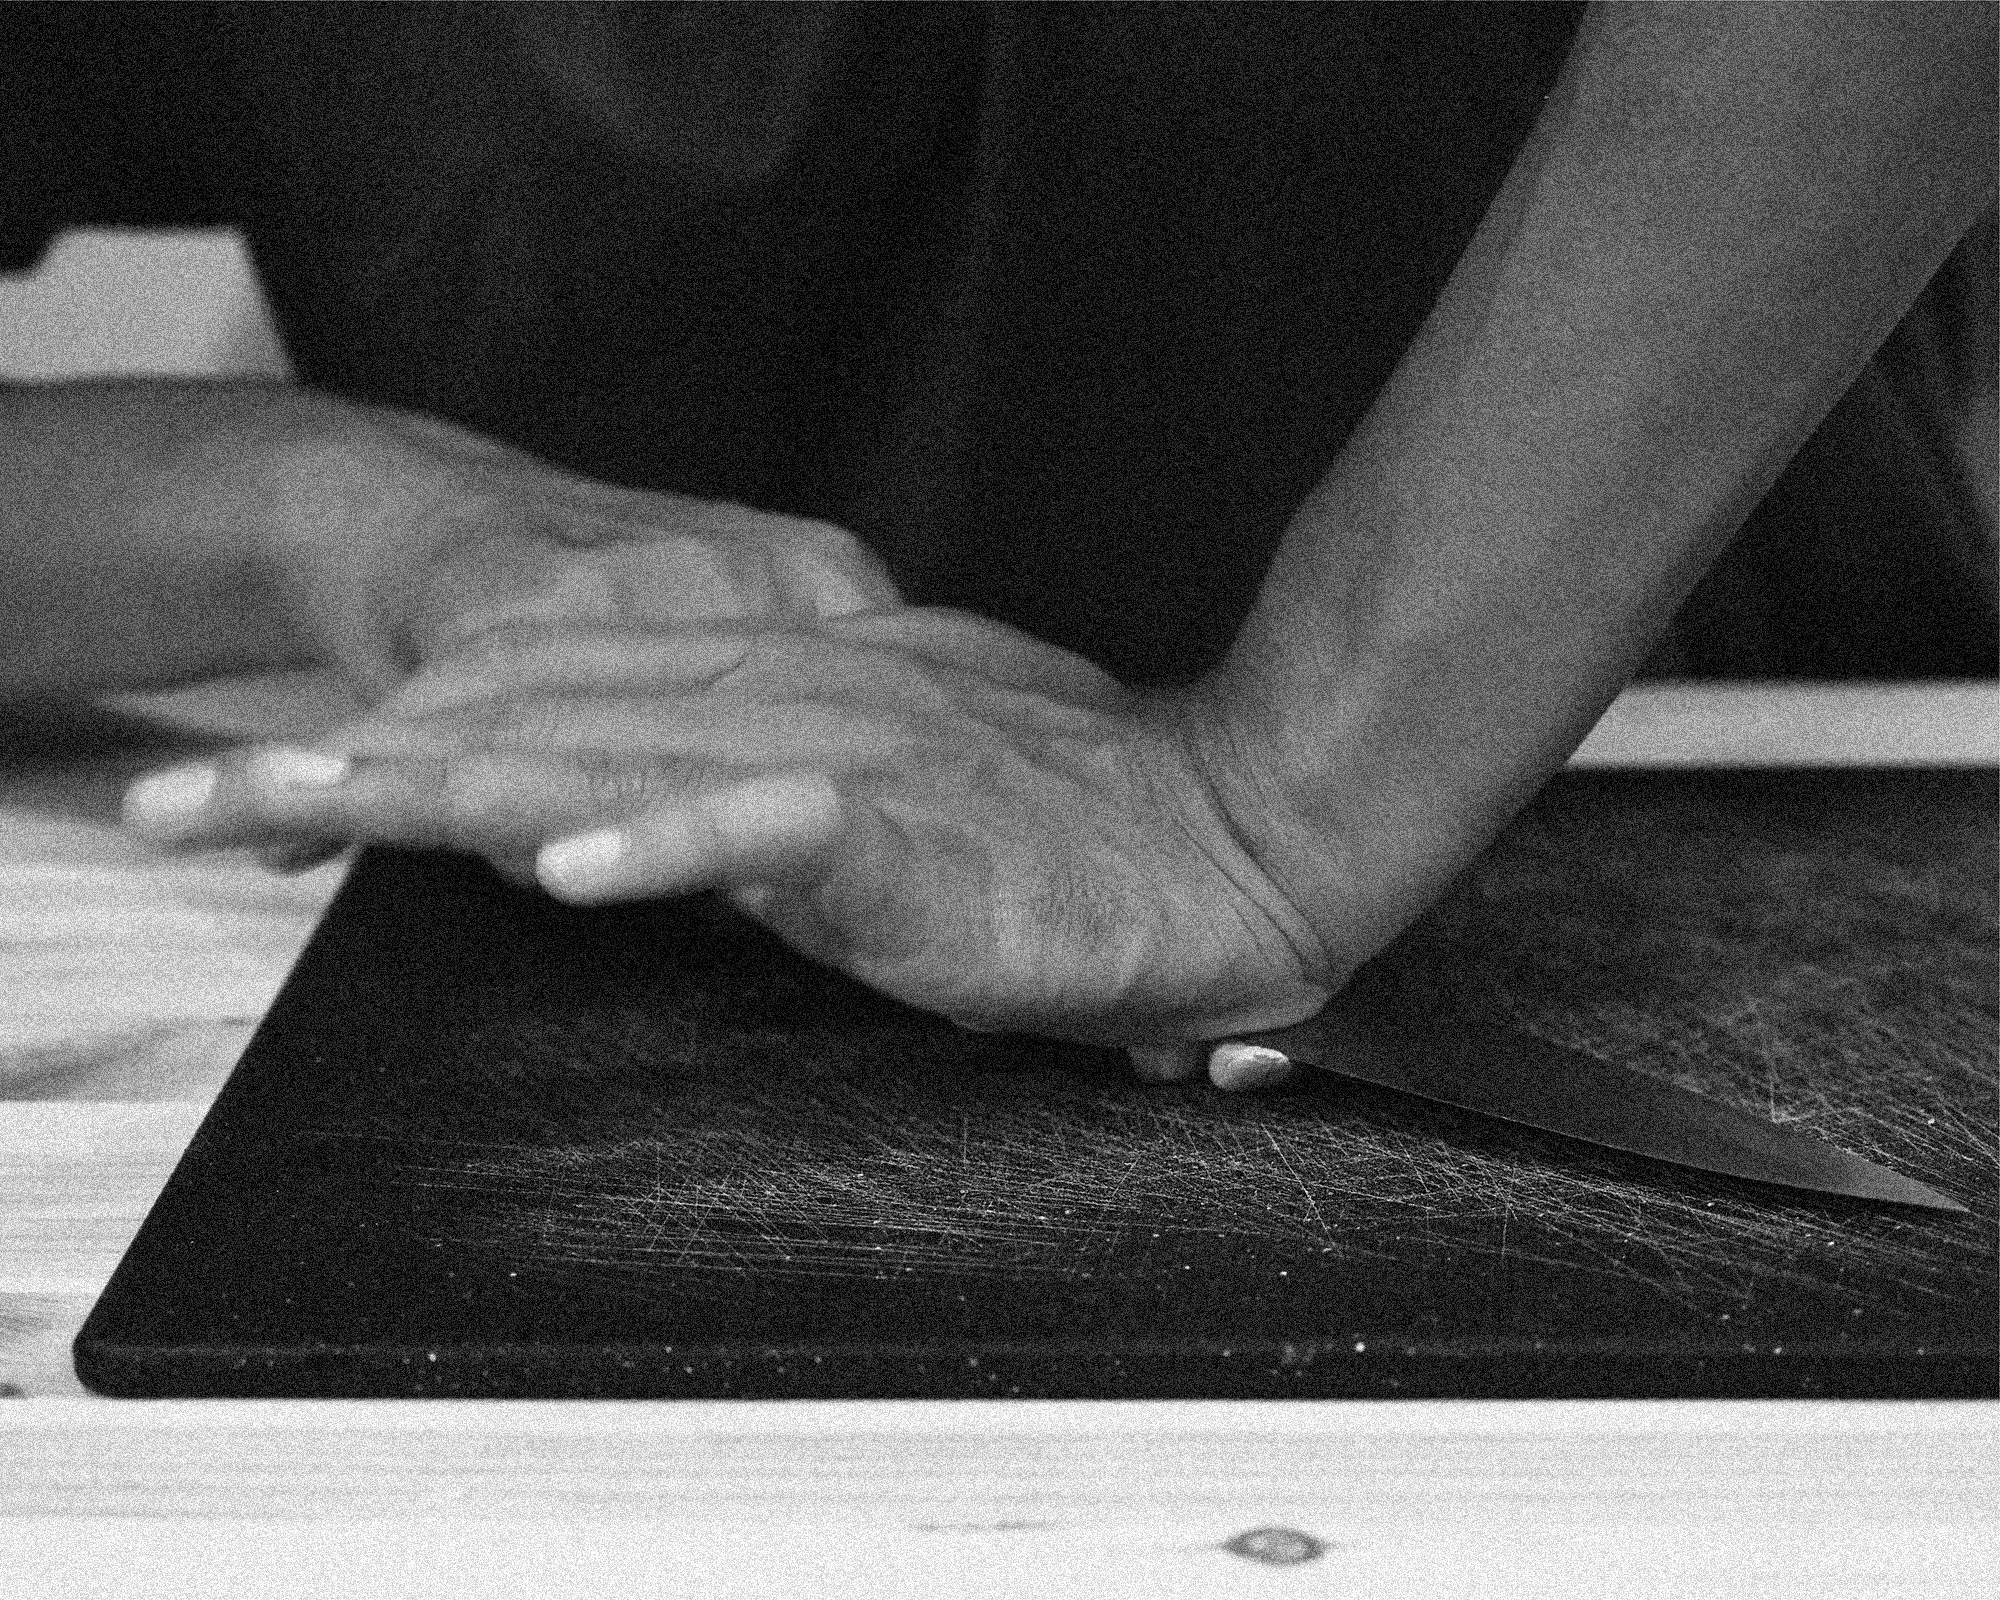
Use the side of your knife again to smash it into smaller pieces.
-
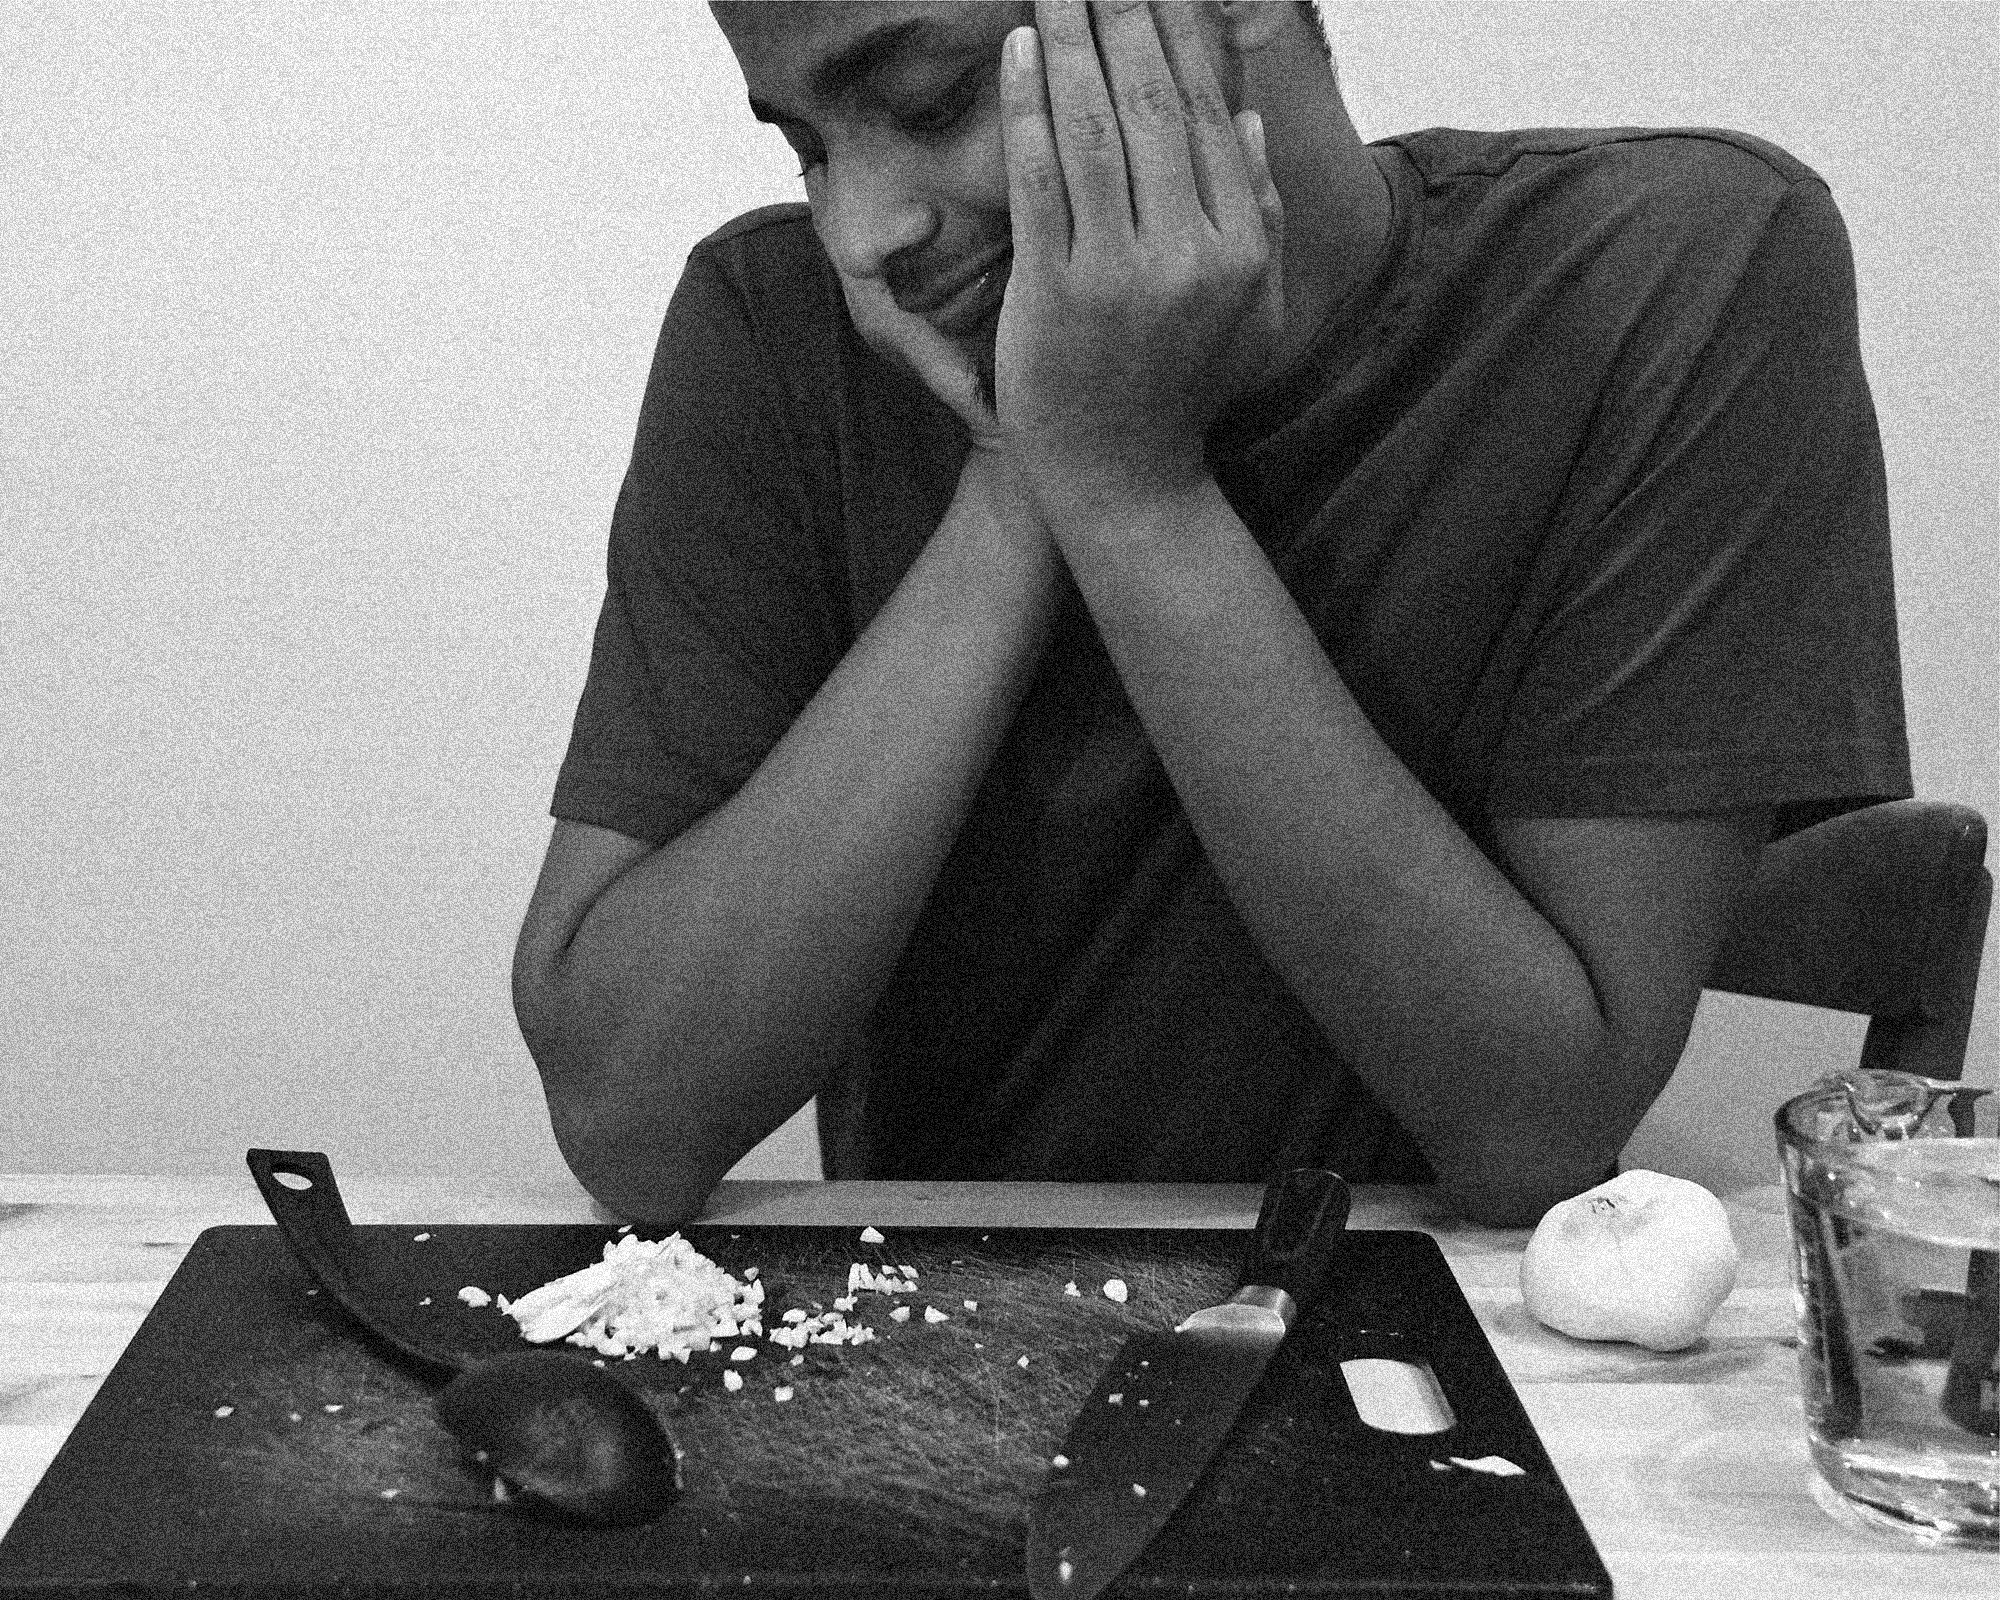
If it's not enough, chop it more. It should be tiny but not a paste.
-
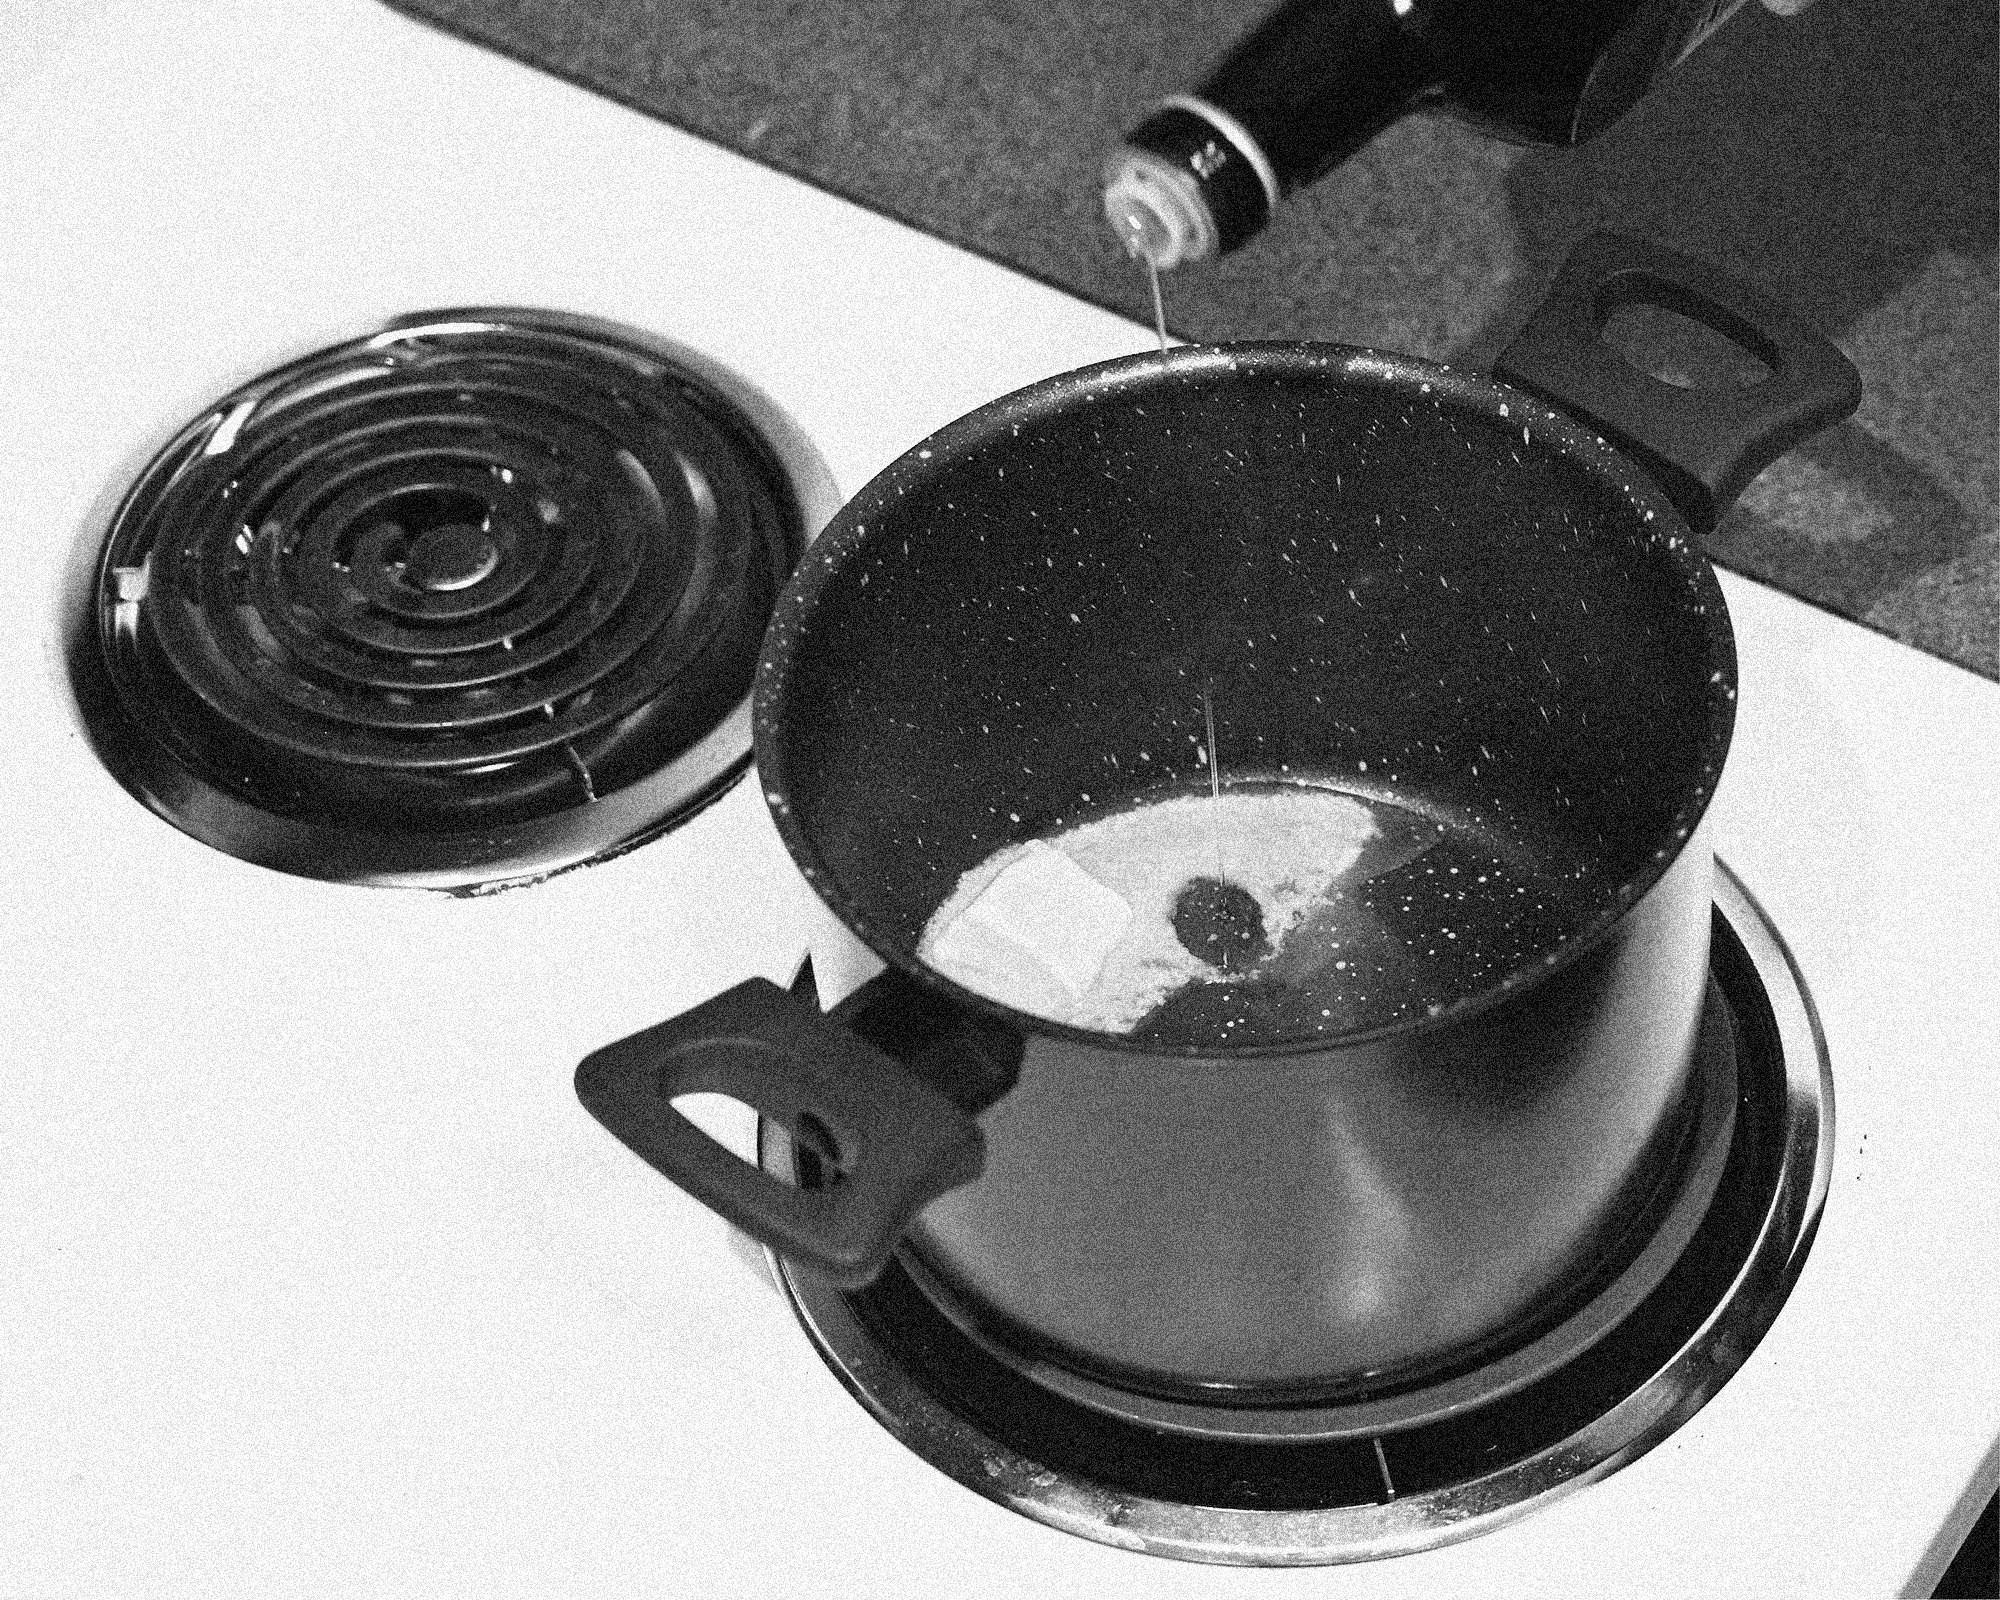
Get your pan on the stove and put that butter or olive oil in.

-
If you put butter, add a drop of olive oil (that will prevent your butter from burning)
-
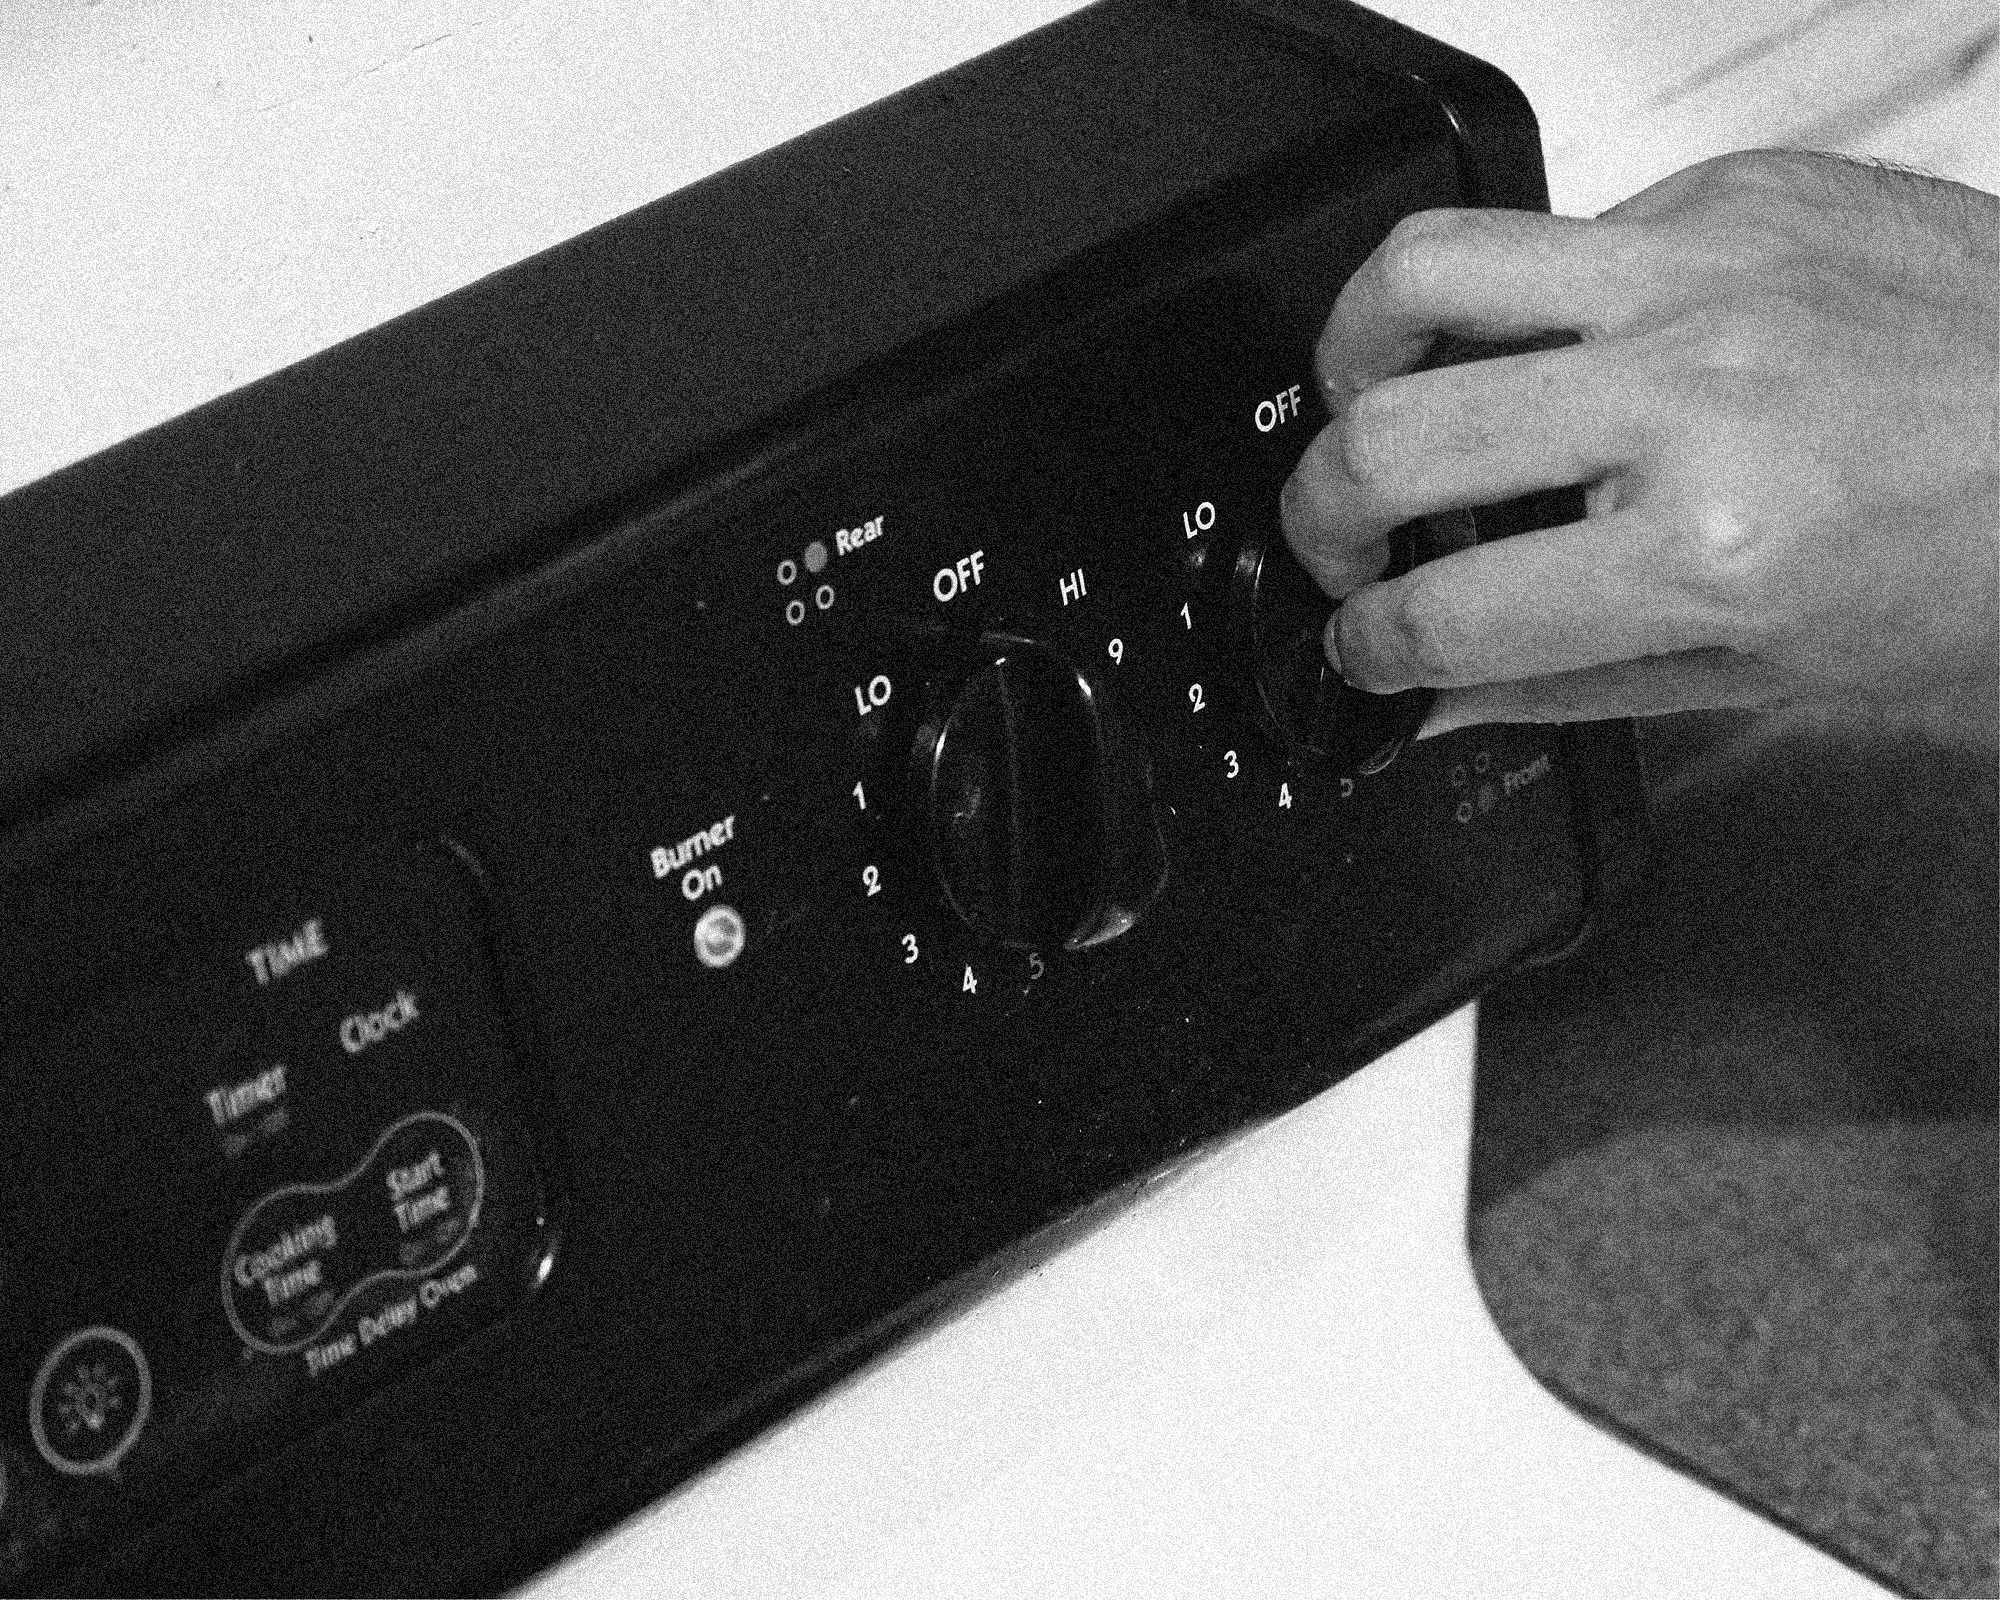
Turn on the stove to a medium-high temperature.
-
You will know when the pan is hot enough by shaking it gently: if the butter/oil flows easily from one side to the other, it's good to go.
-
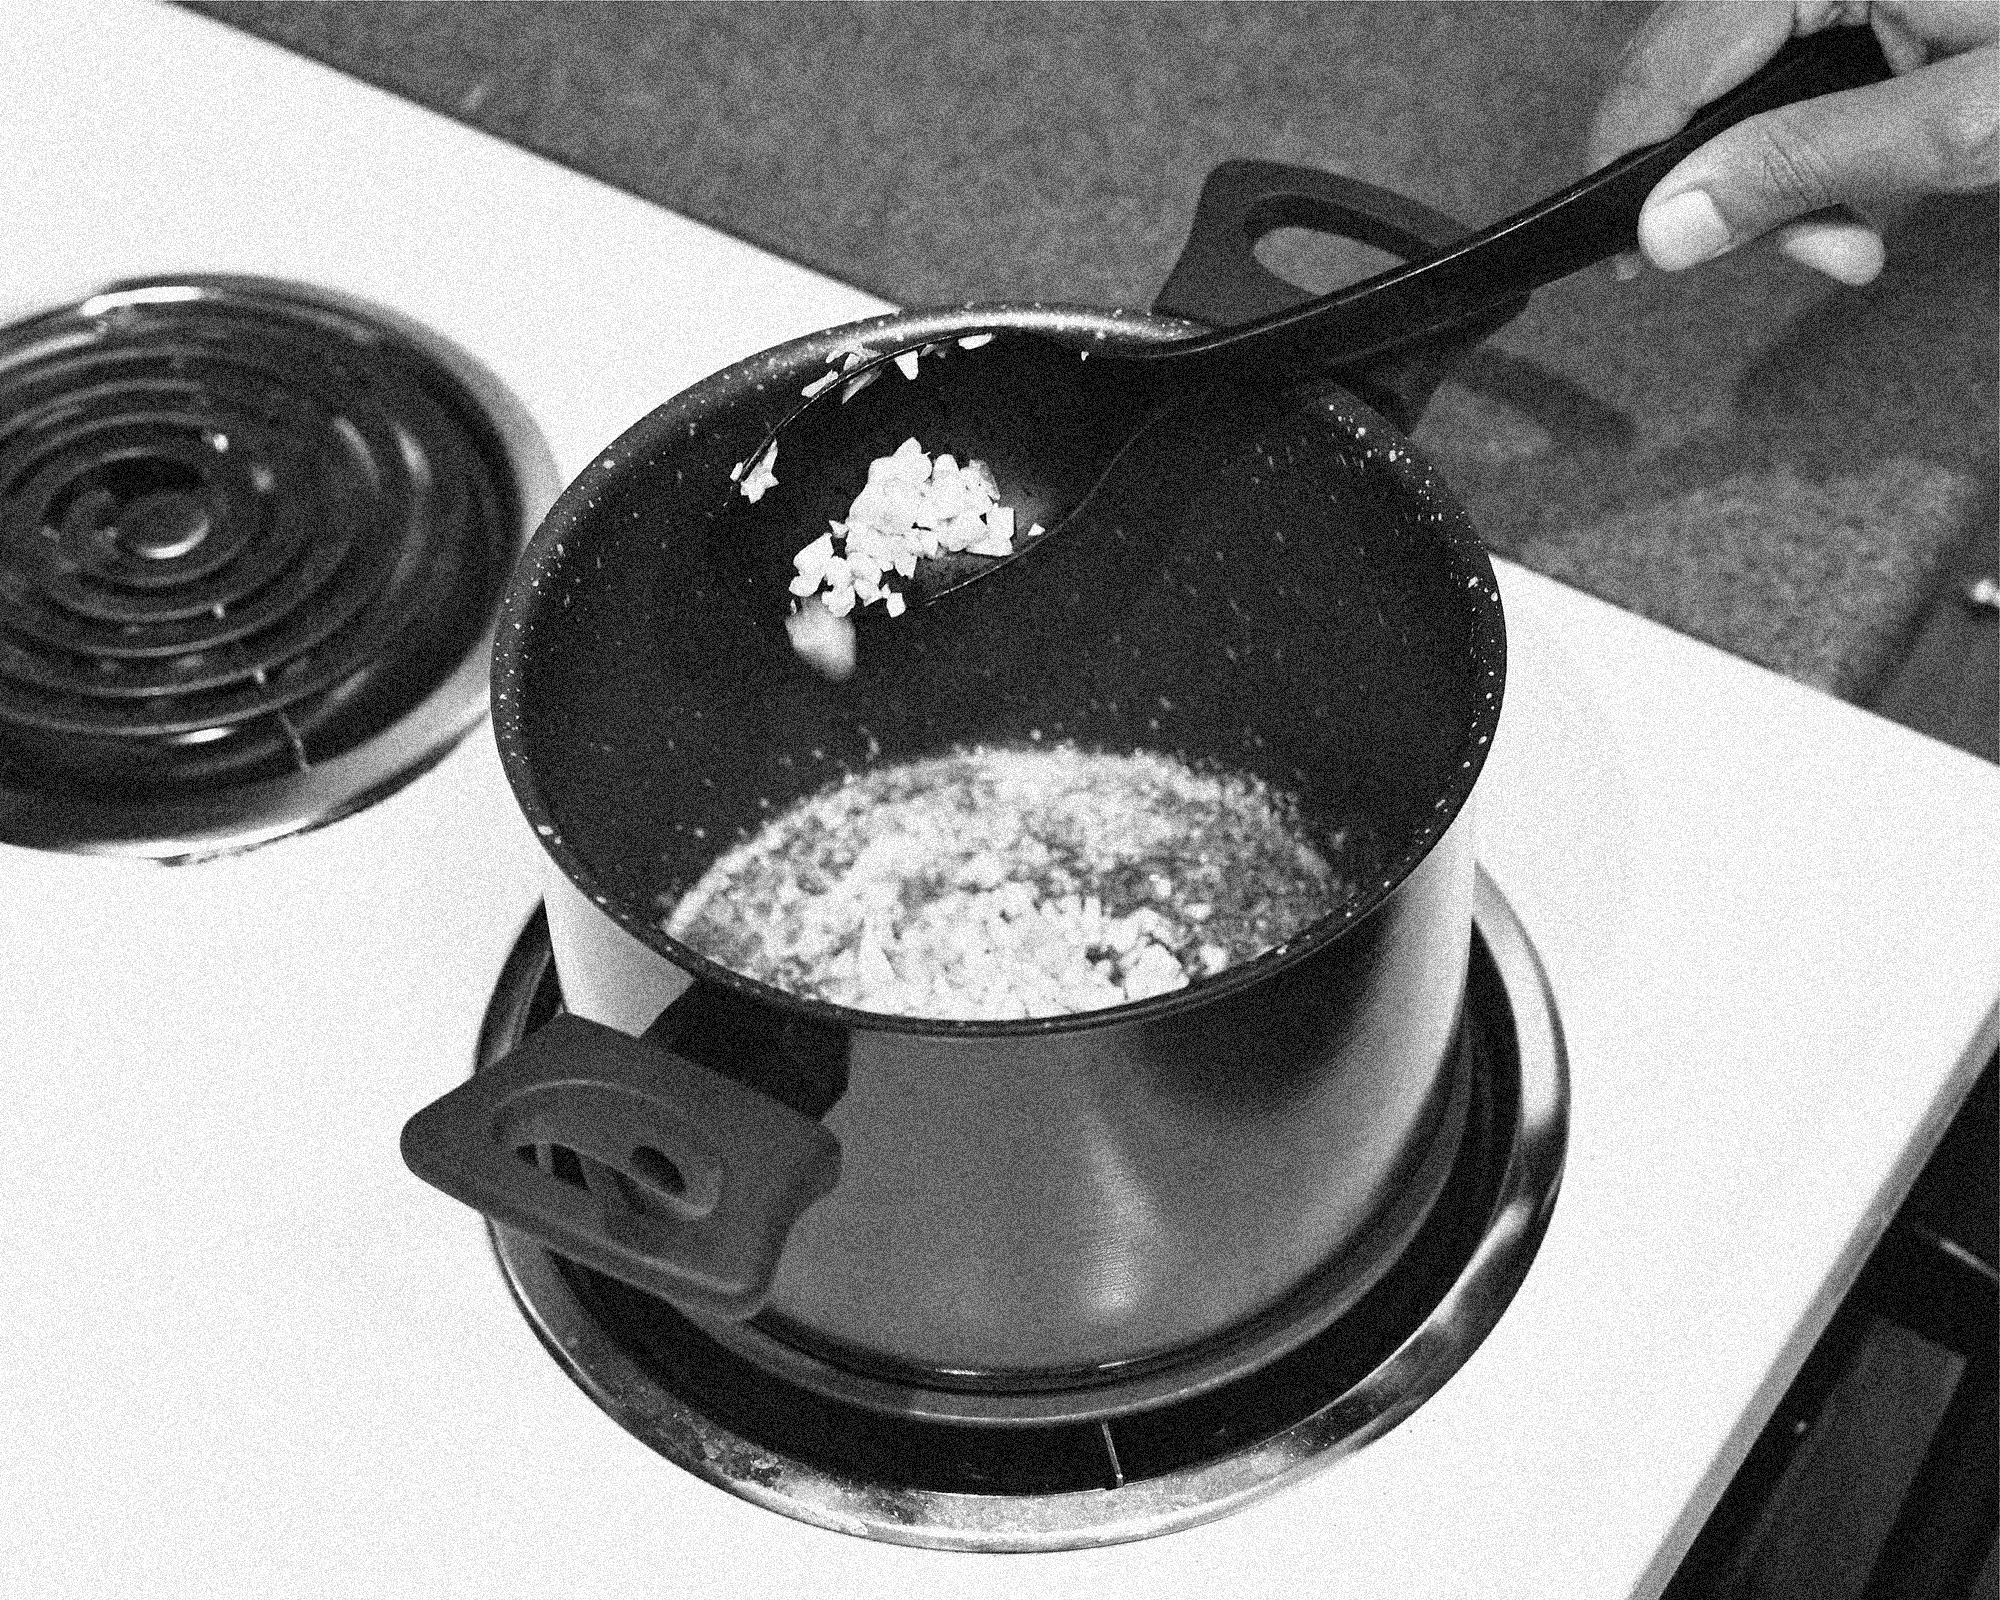
Add your nicely, professionally chopped garlic, and shake the pan so that there is no garlic over garlic and all of it gets evenly fried.
-
When your garlic turns golden (but before it turns brown), put the rice (and quinoa if applicable) into the pan.
-
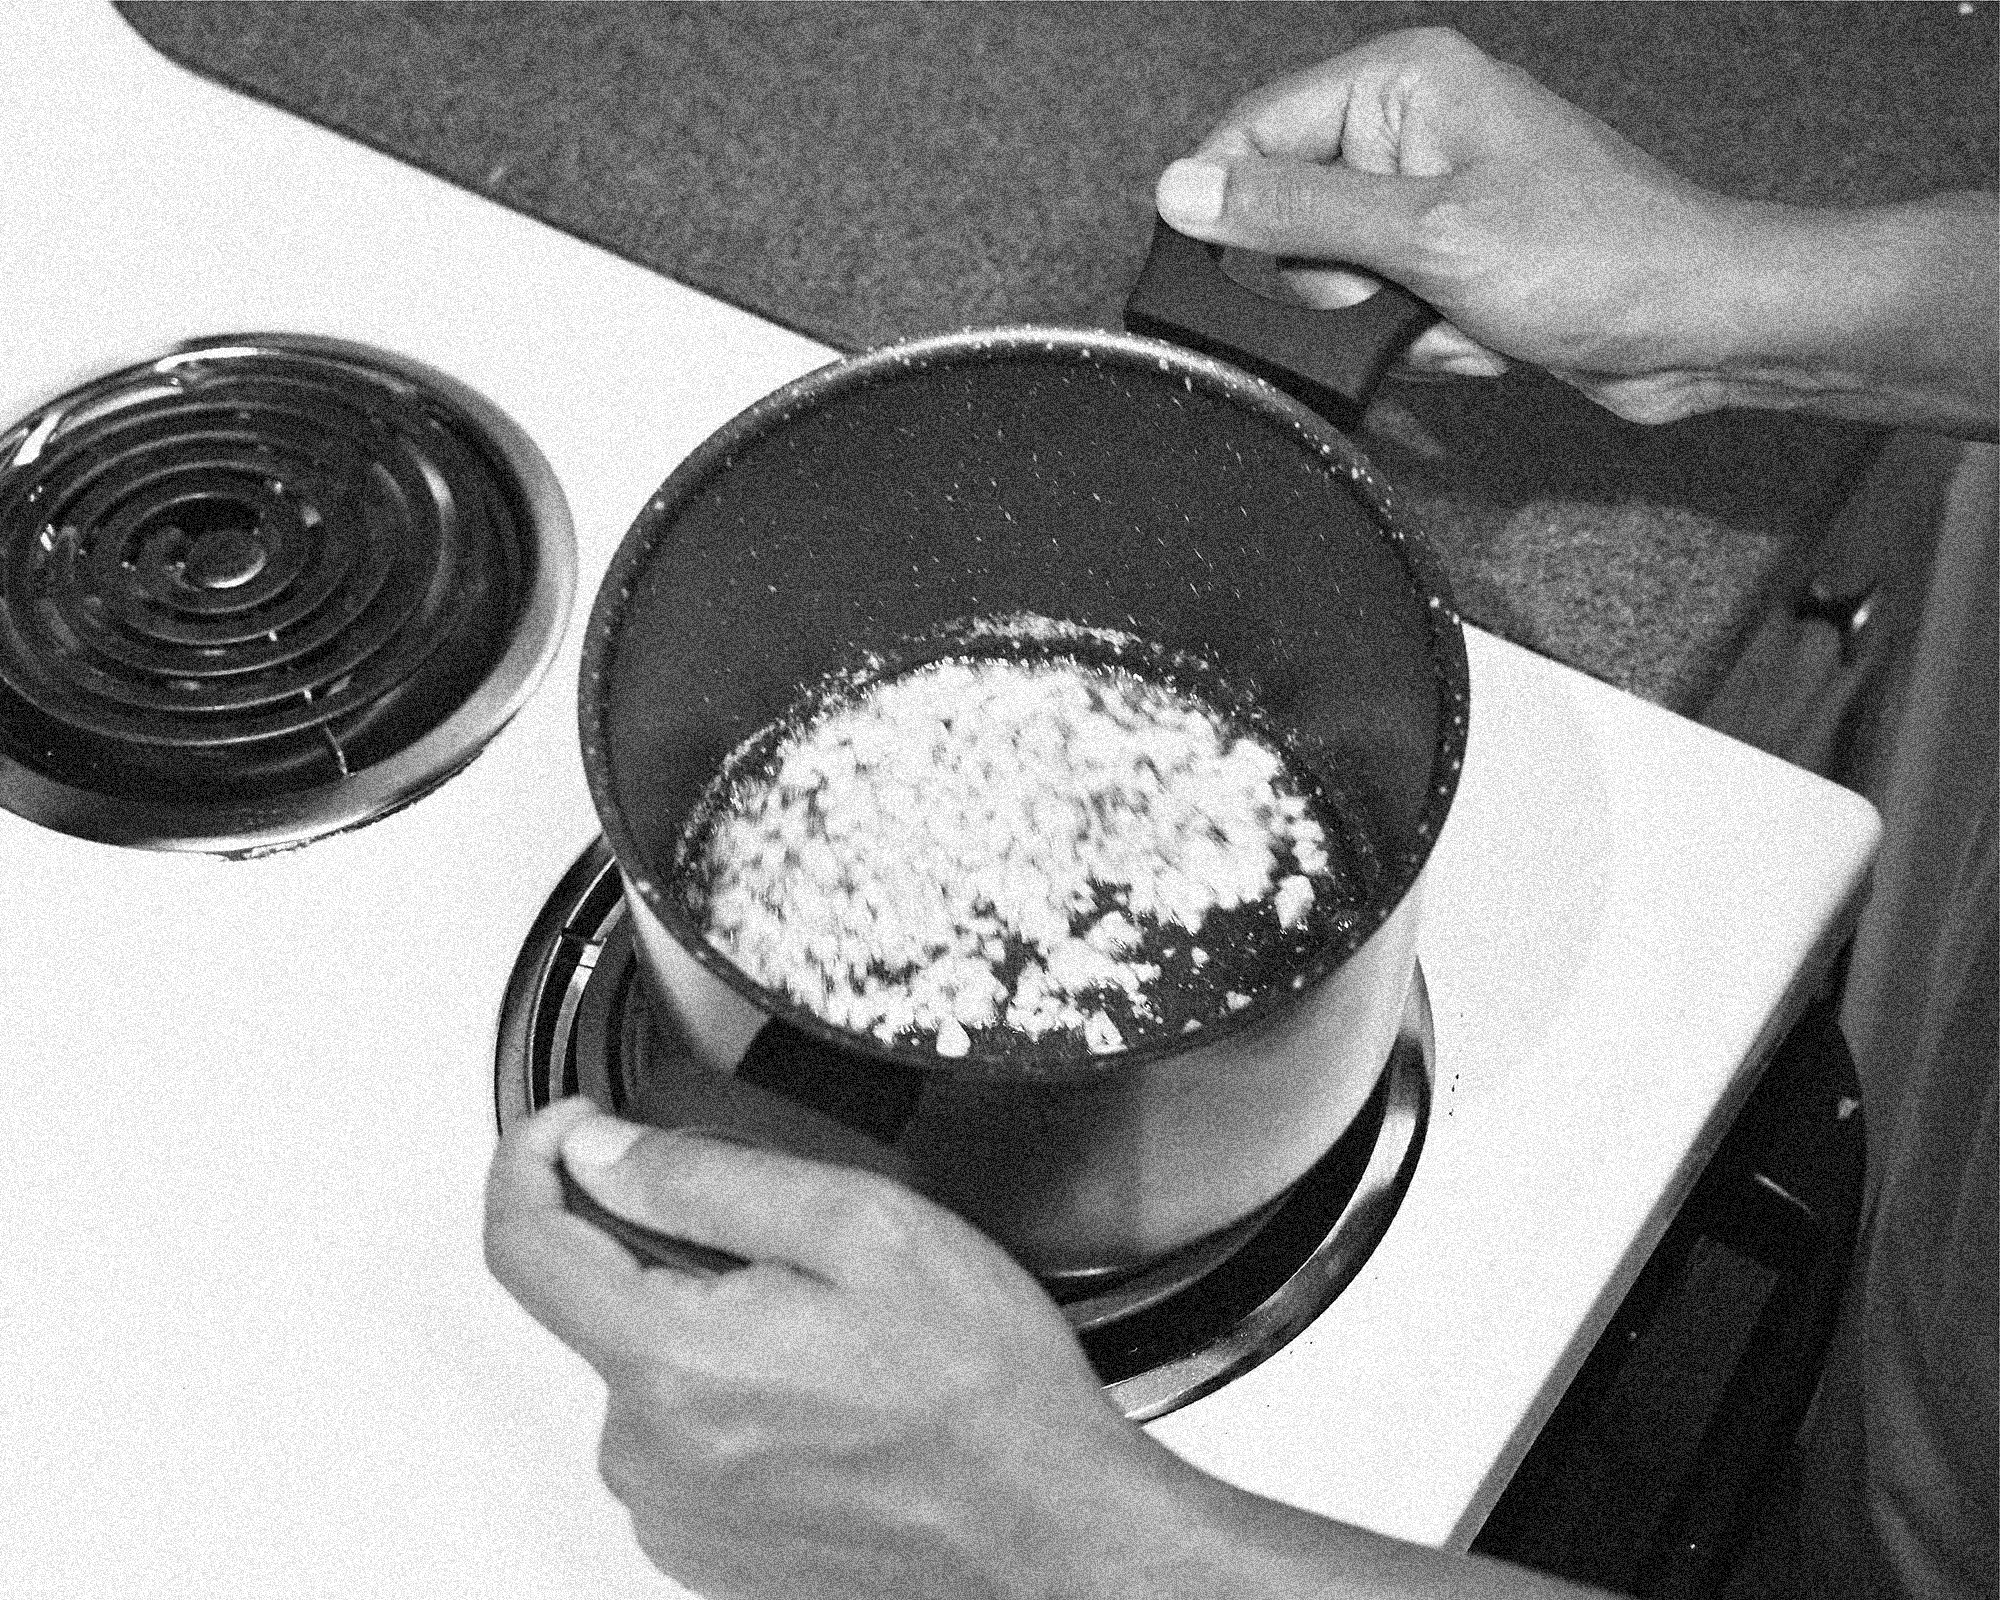
Use your cooking spoon to mix garlic and rice: you're frying the rice for about 2 minutes.
-
Turn the stove temperature down to medium.
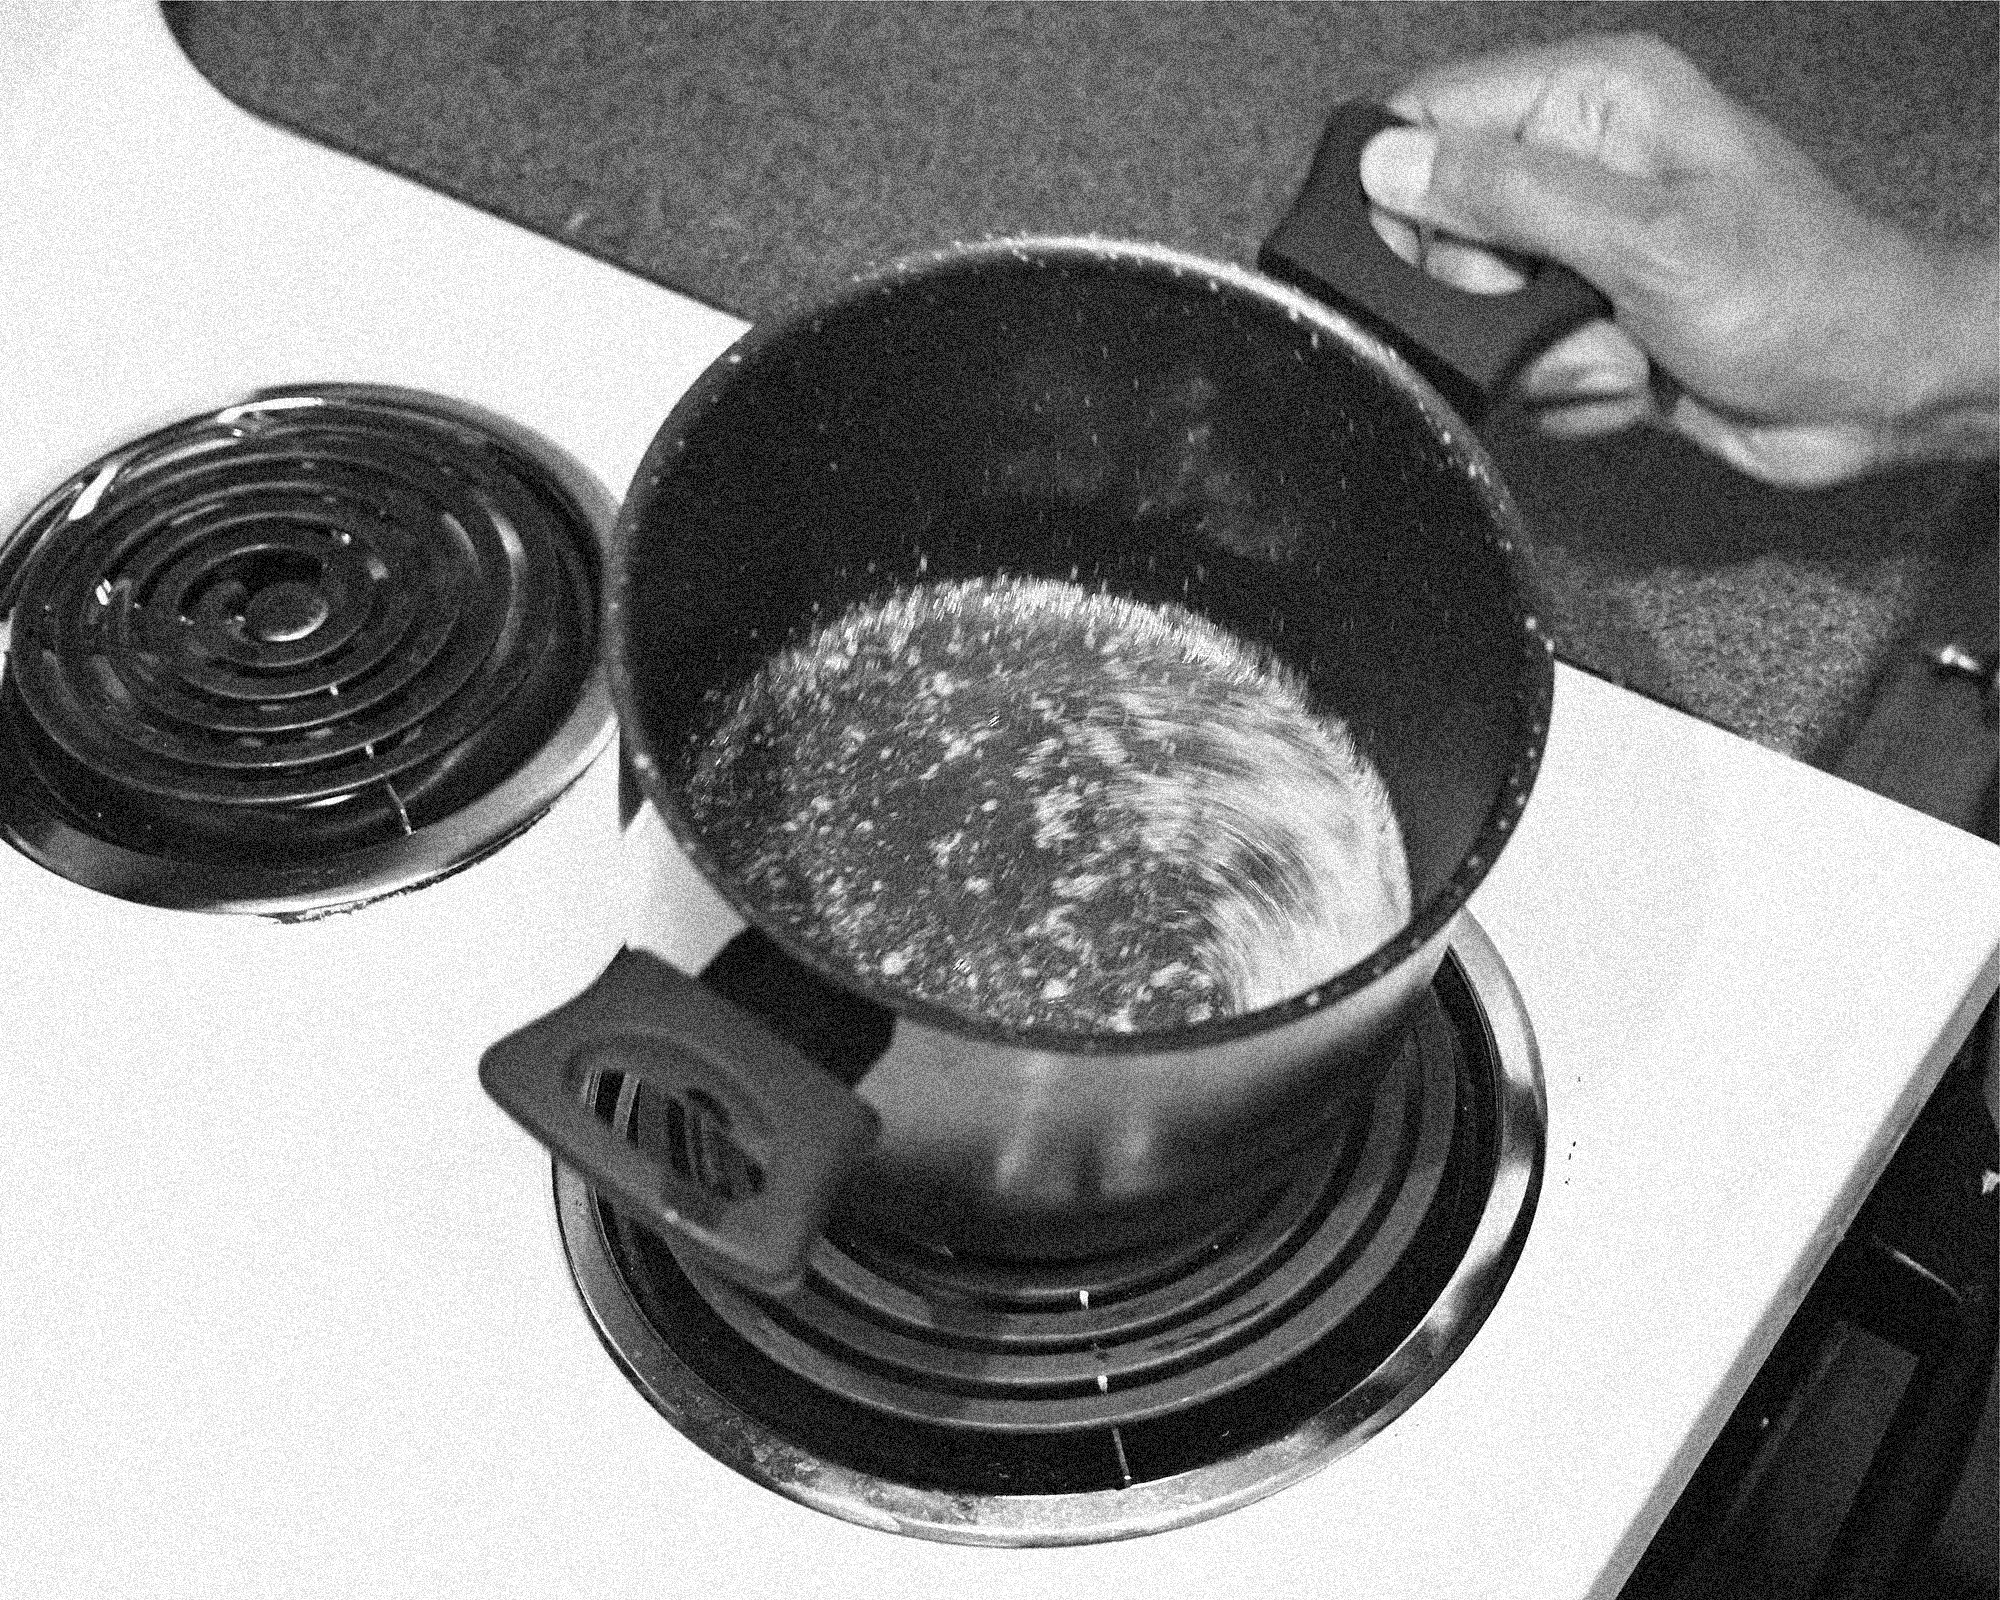
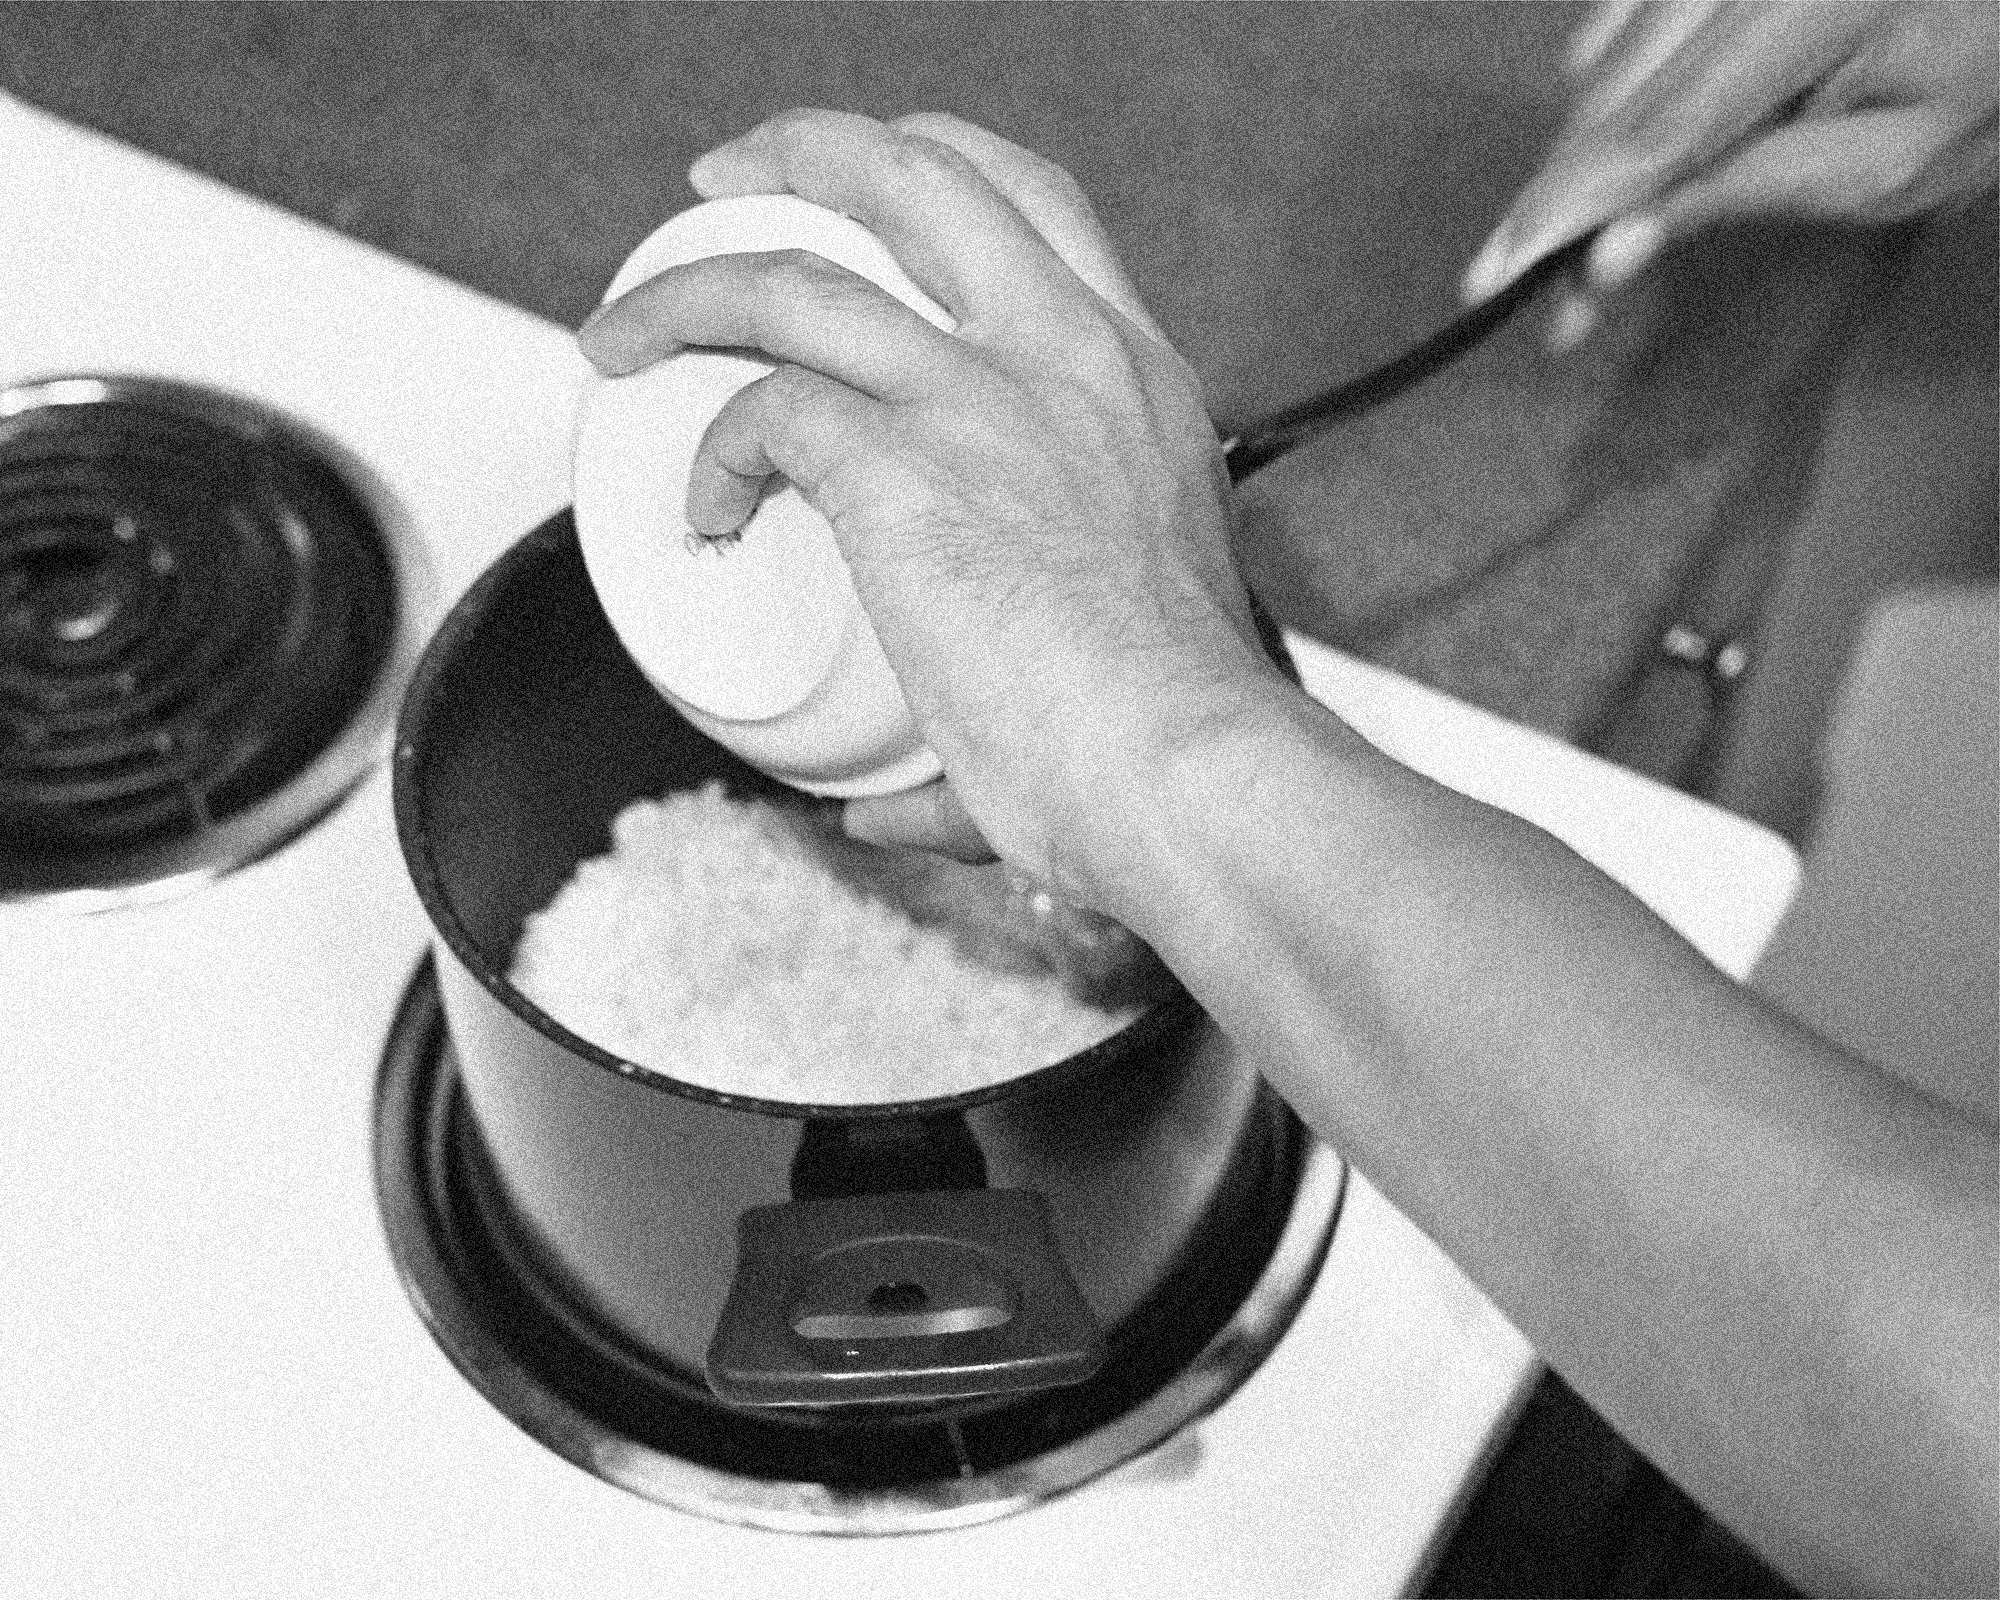
Is the water boiling yet? I hope so. In your non-dominant hand, get the perforated lid. In your dominant hand, get the water kettle.
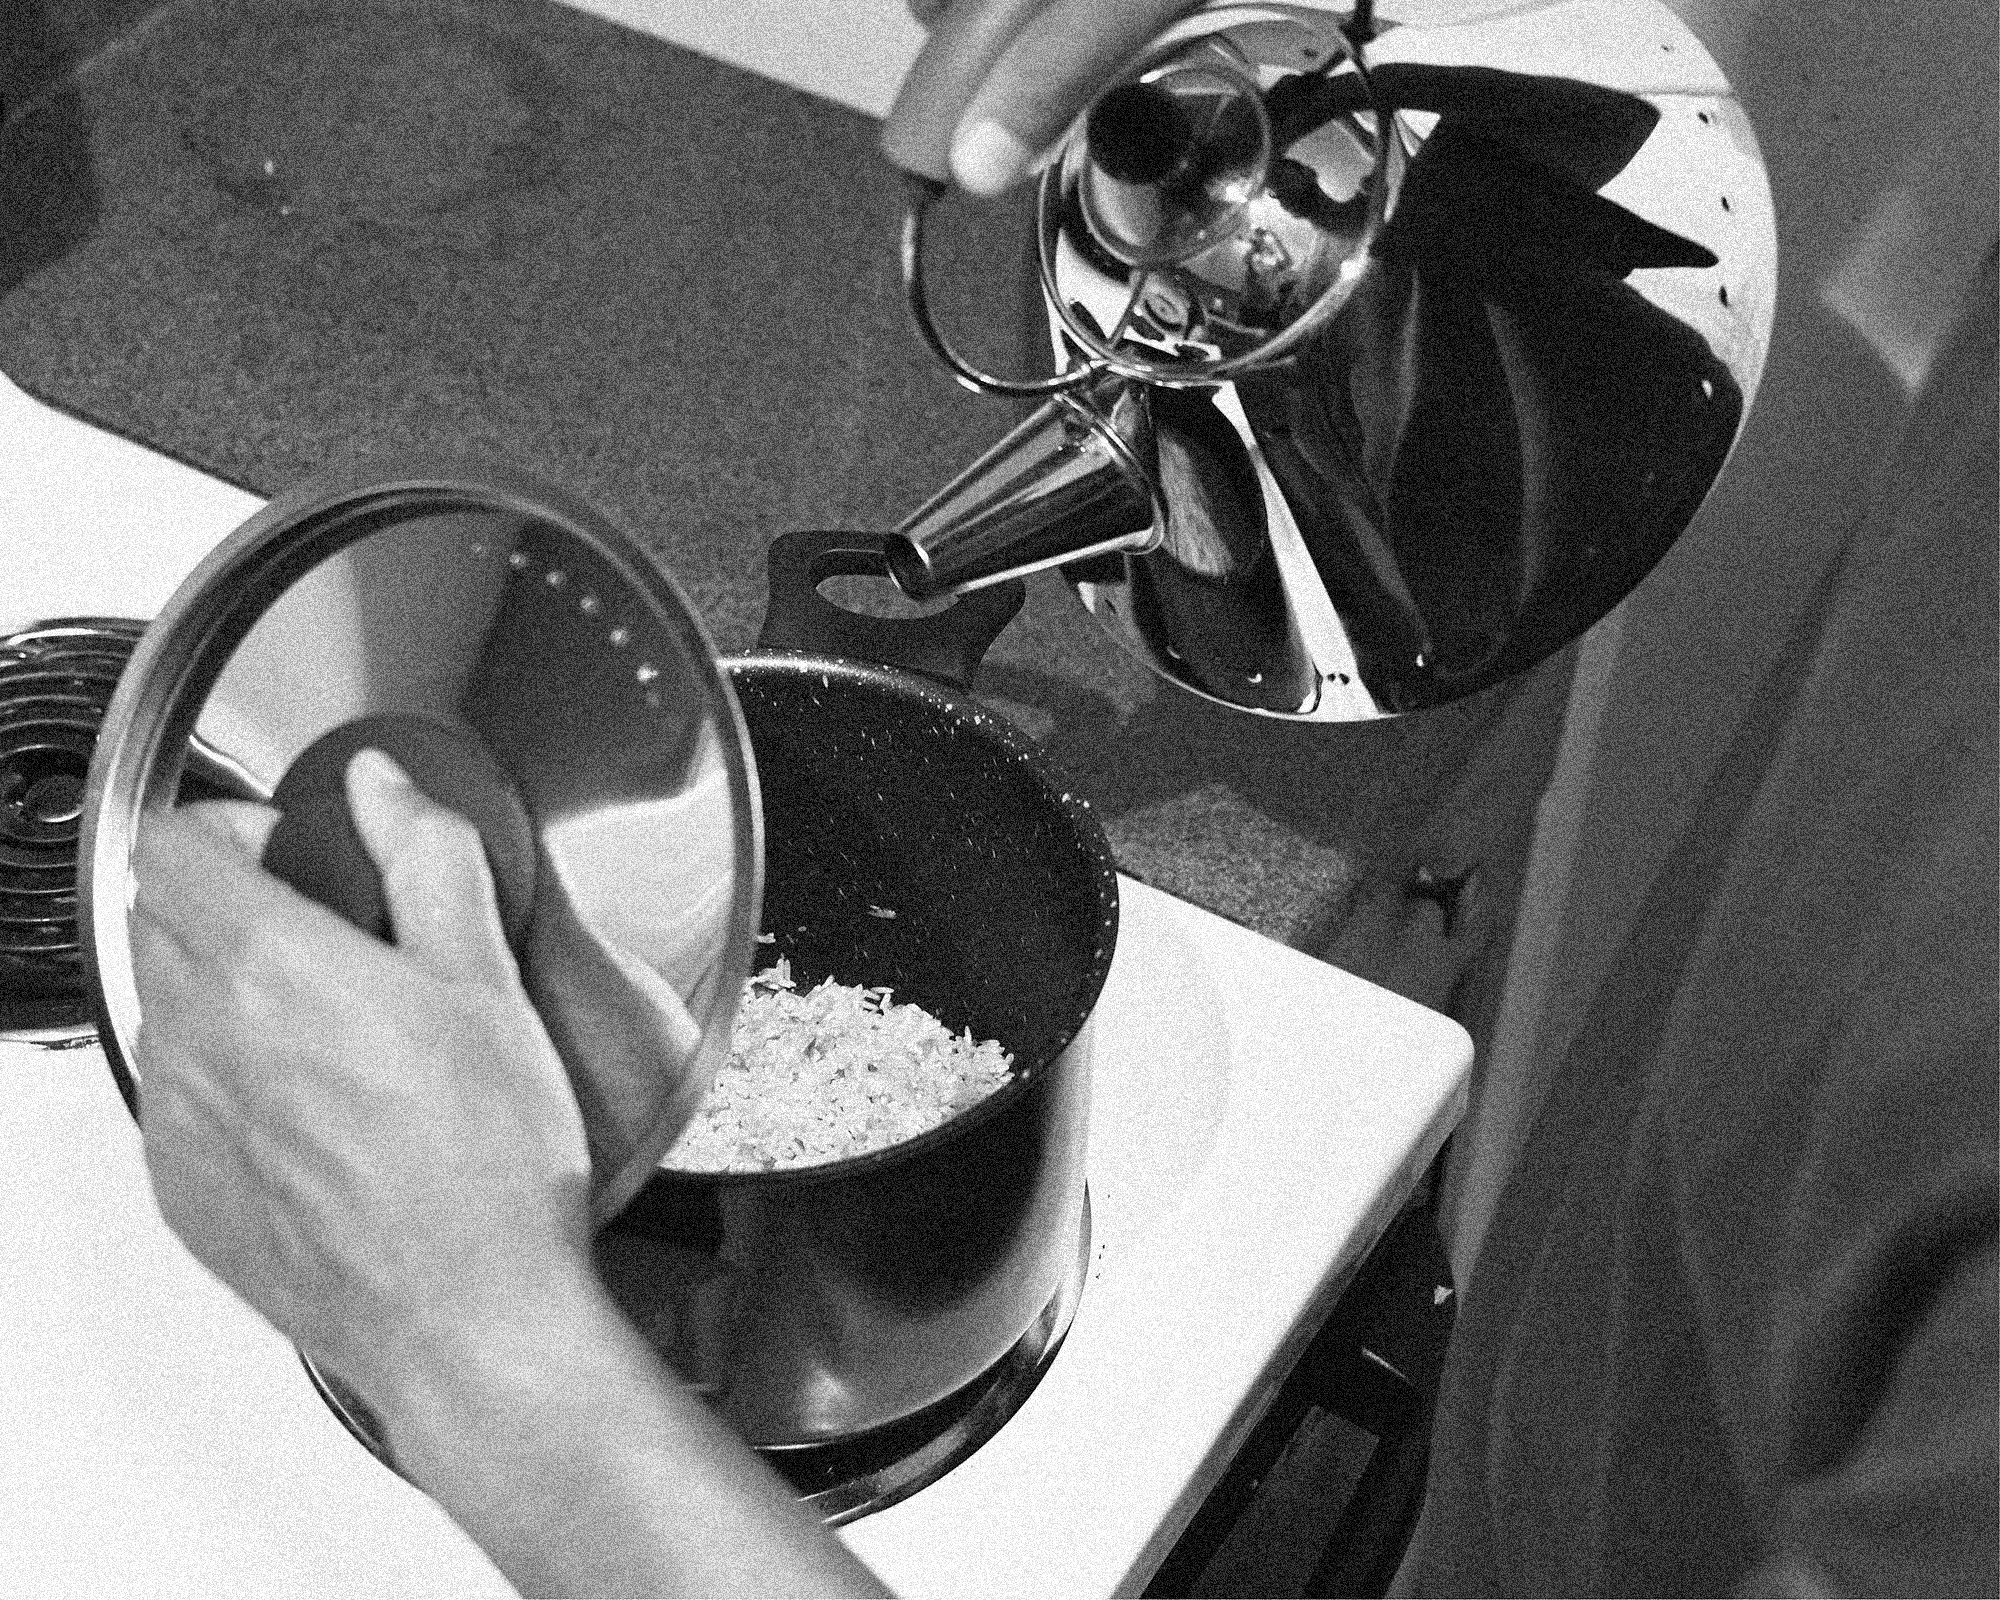
Pour just enough water to fill the pan above the rice line by about ¾ of an inch. Use the lid as you do it to prevent a huge mess.
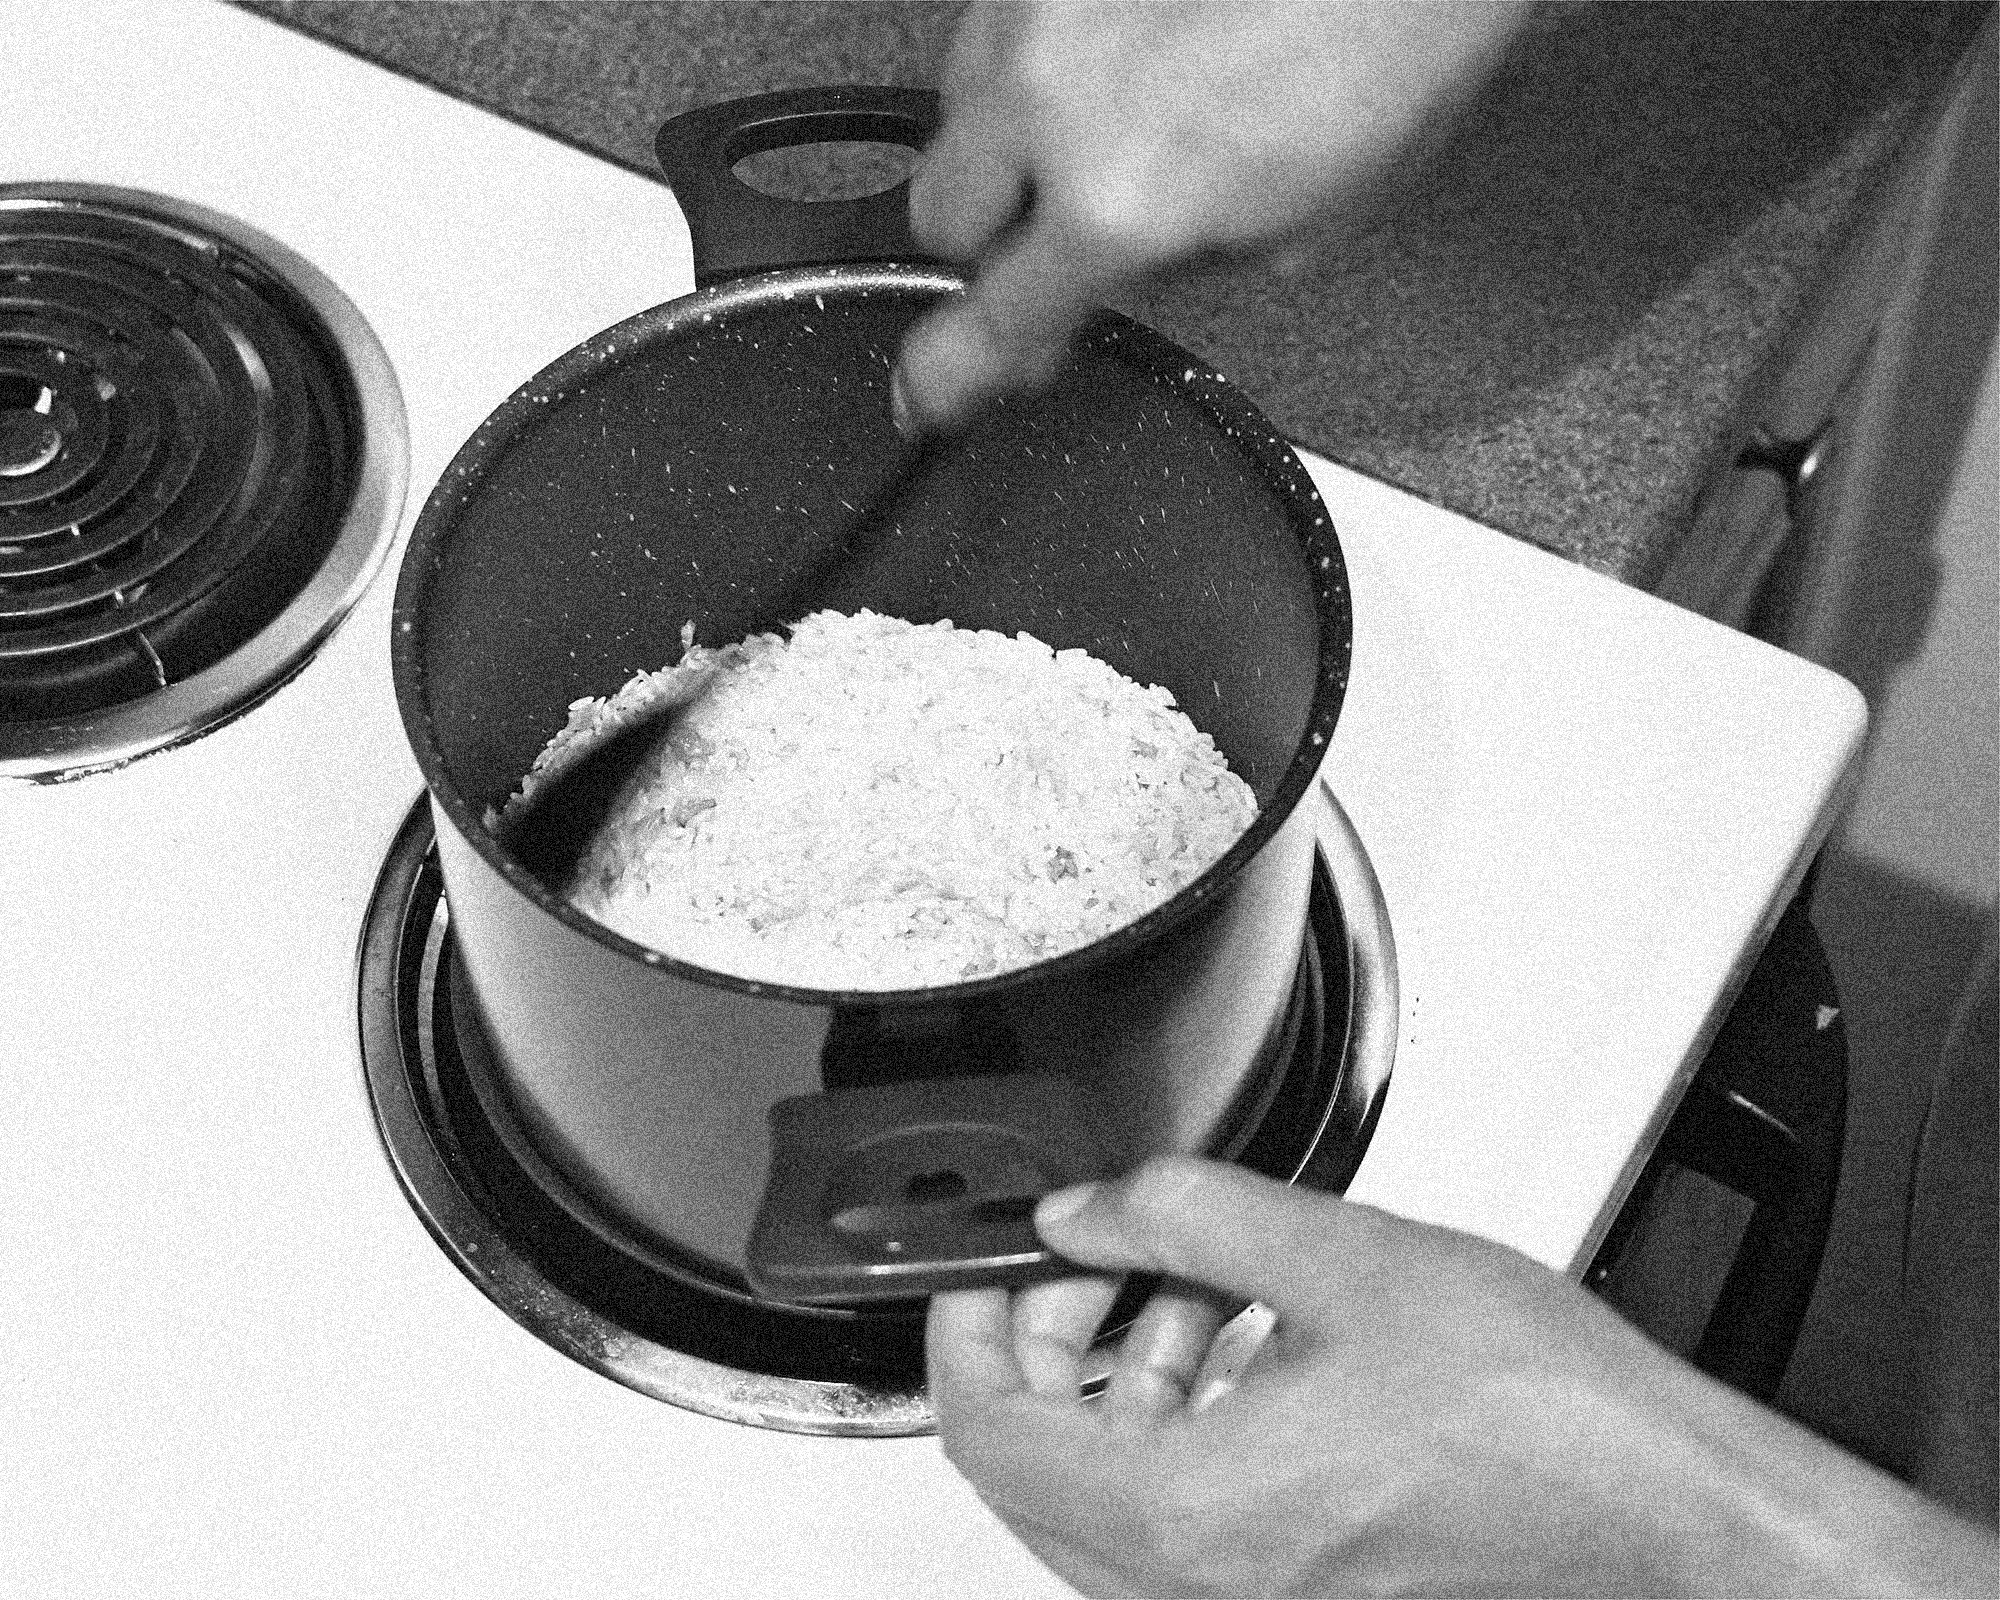
Stir it a little with your cooking spoon to make sure there's no rice above water.
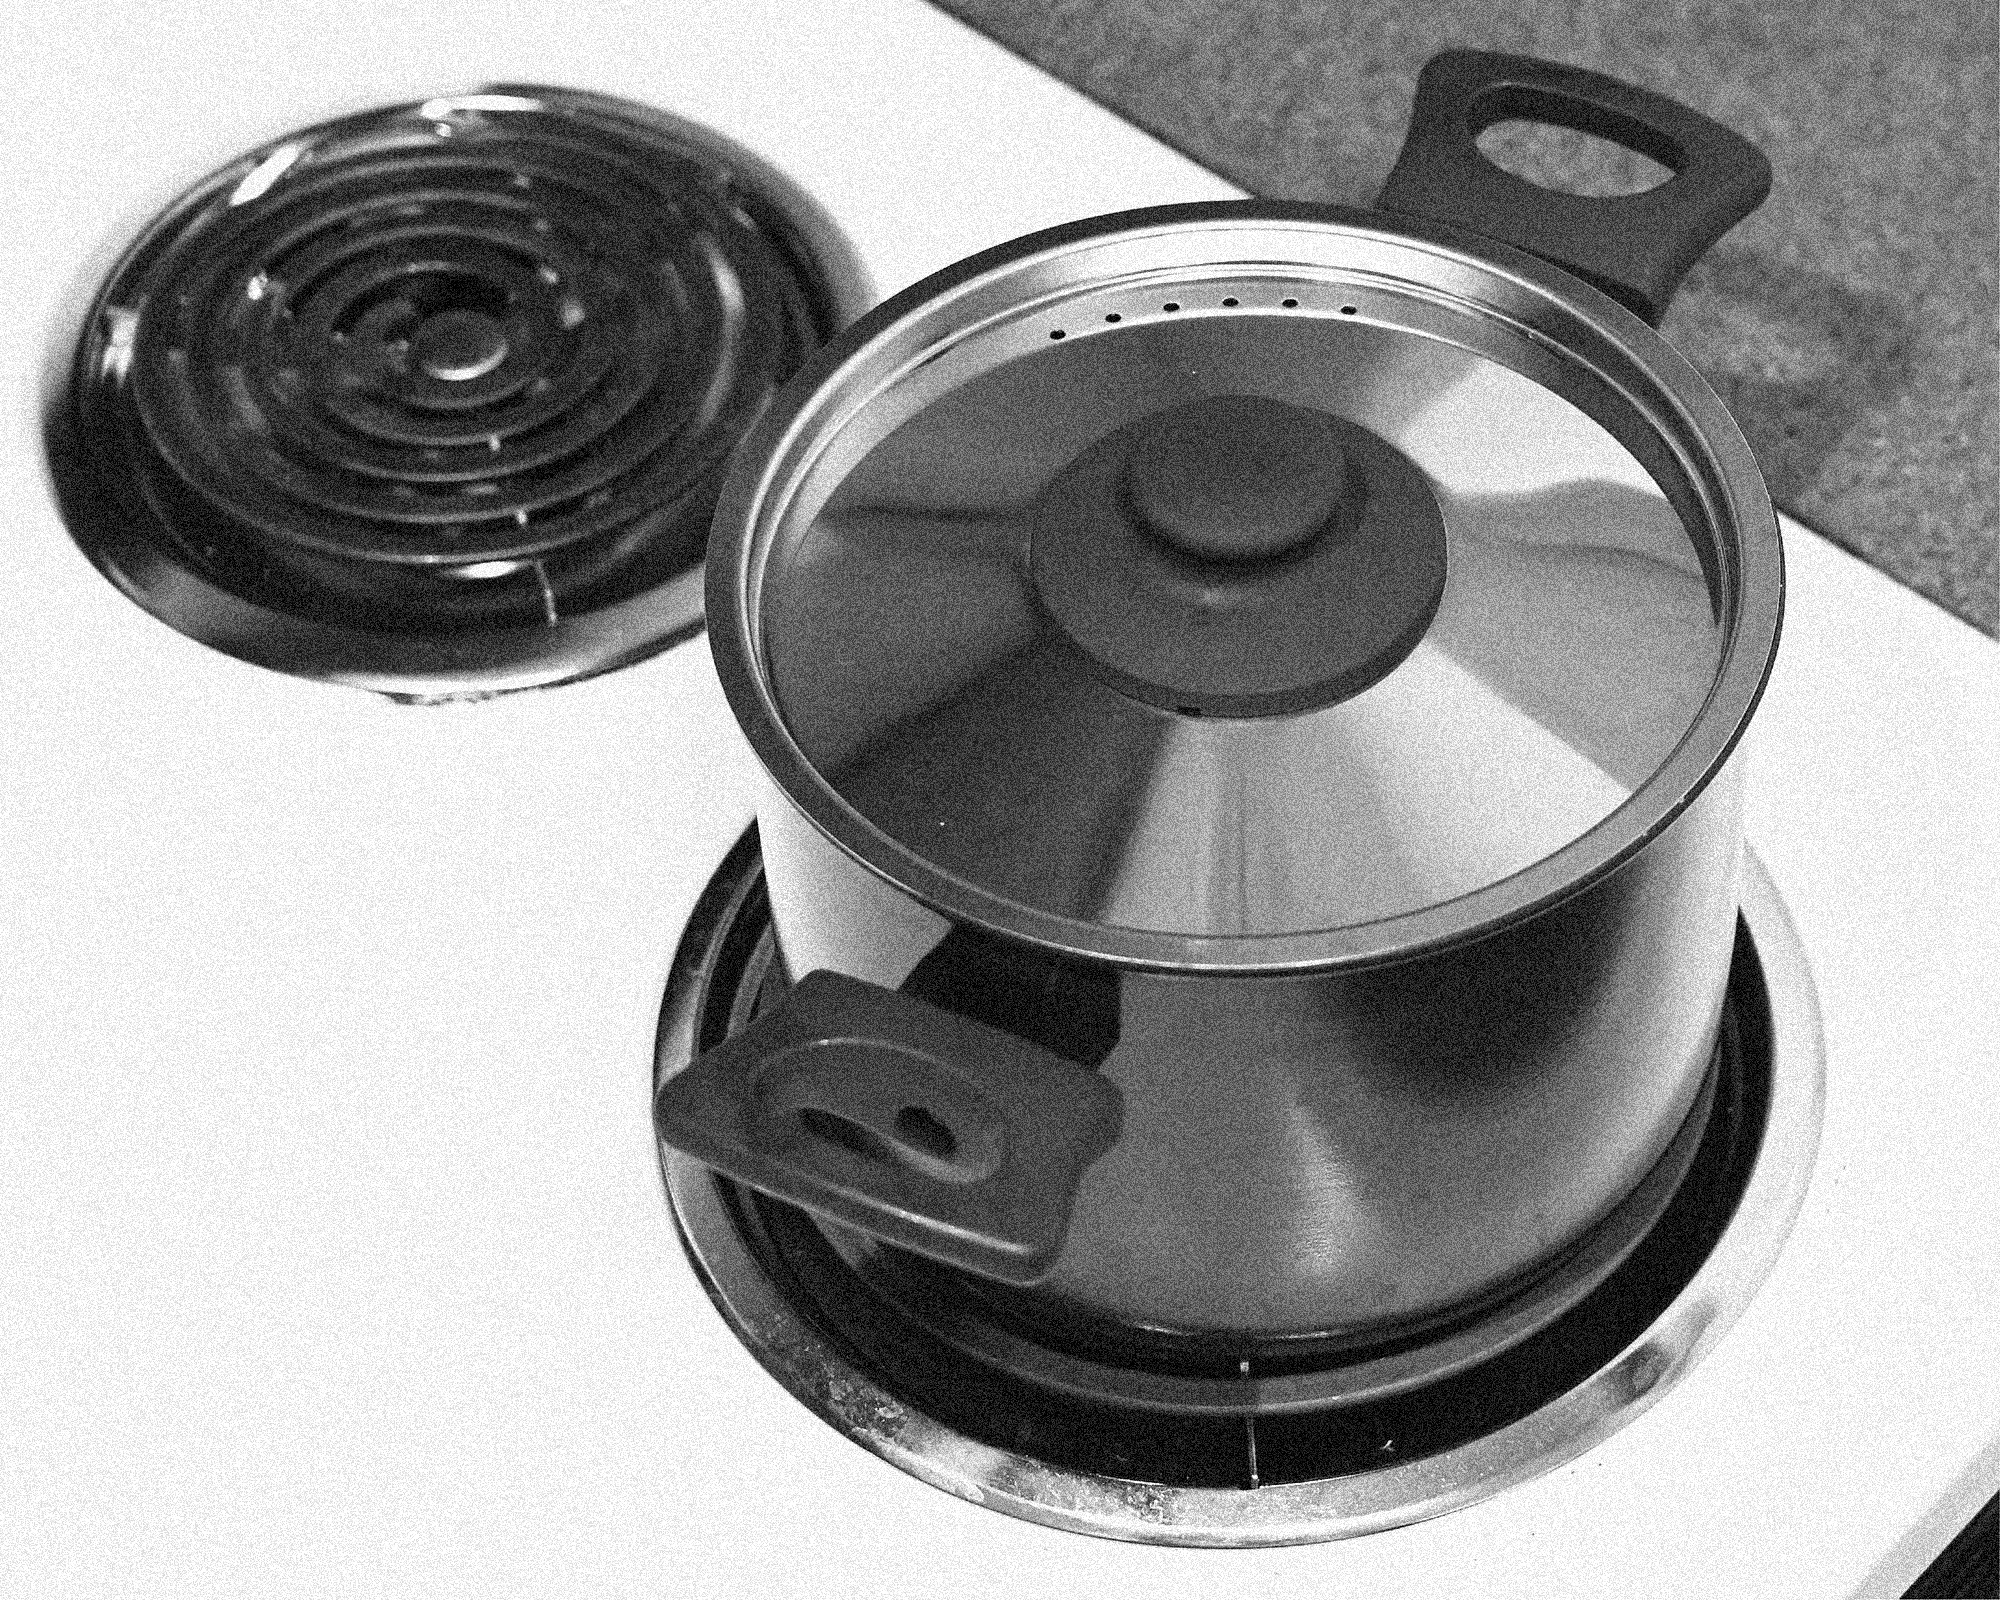
Cover the pan with the perforated lid, or if the lid is not perforated, put it in a way that the vapour comes off easily.
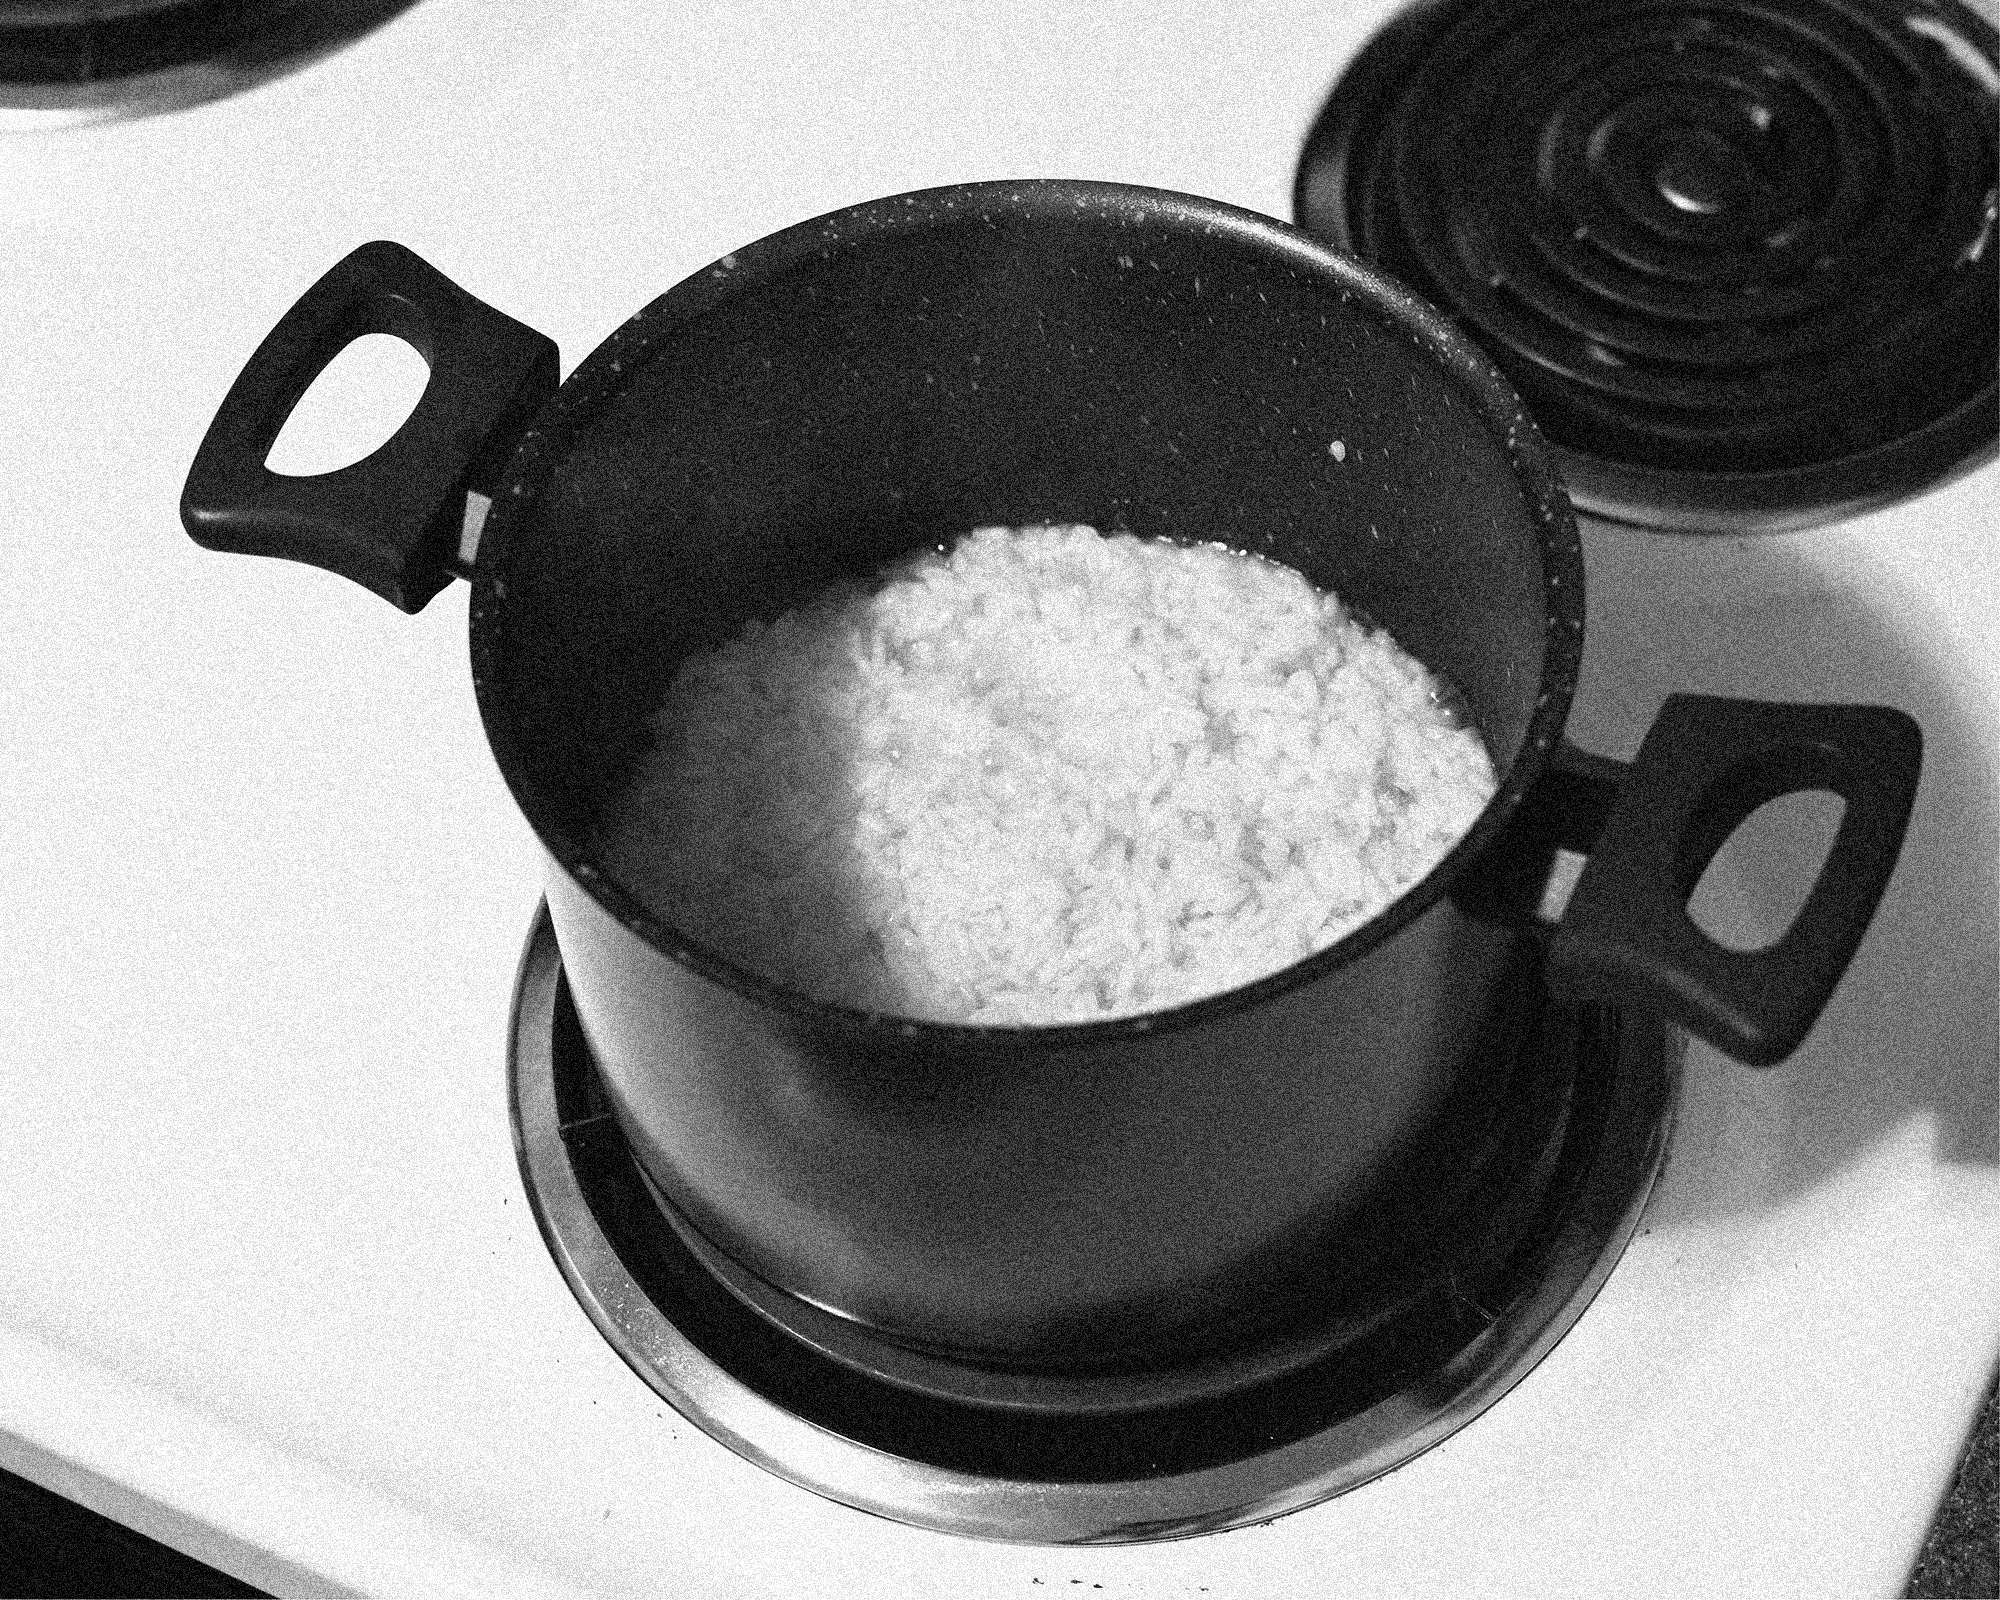
Wait for about 8 minutes, but every once in a while go back and check if the water is completely gone. You can use your spoon to do so — my mom knows it by feeling the vibrations on the panhandle.
When your rice sounds like it's frying, or the water level is low, add a second round of water in the same way you did before: just about ¾" above the rice line.
Wait for about 8 minutes again, but every once in a while go back and check if the water is completely gone.
-
When the water level gets really low, turn the stove off and remove the lid for a few minutes. That will make your rice texture really nice.
-
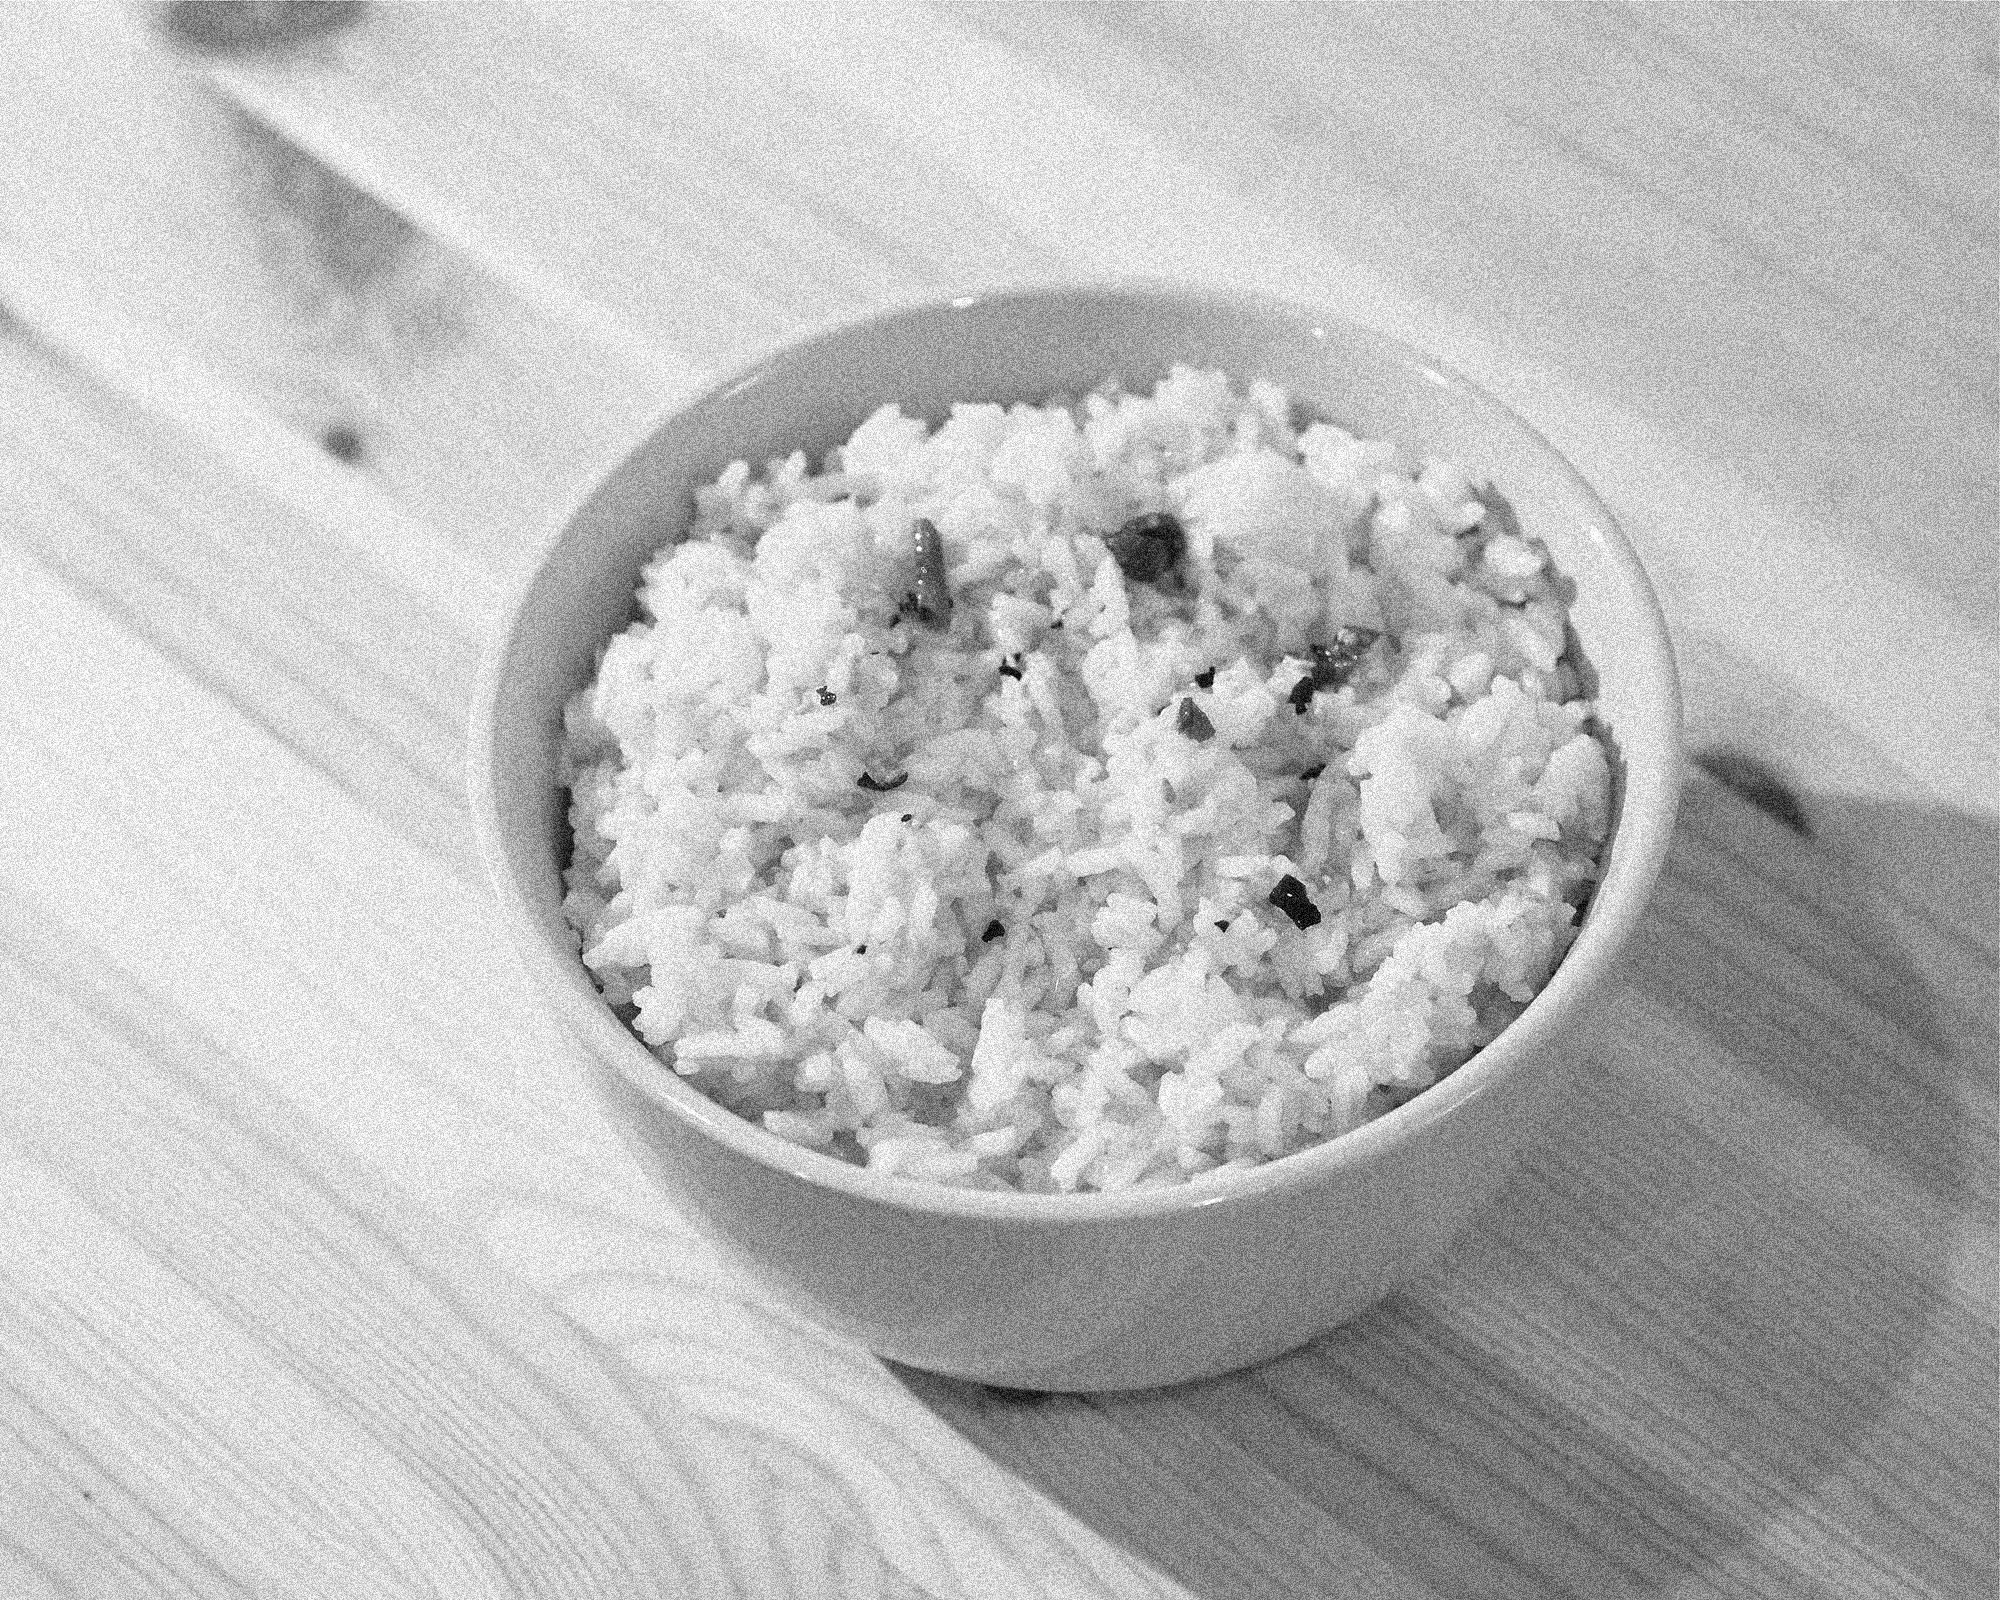
Look at this beautifully cooked rice! Time to place it on a serving dish and pair it with nearly anything you want.
-
Get all the dirty stuff and place them on the sink. You can deal with that after you've eaten your garlic rice.